Tile flooring is standard in many home areas, including bathrooms, kitchens, and entryways. Many of these spaces are high-traffic areas, which means more dirt collects and spreads not only on your tiles but also in your grout. Why does grout become so dirty? How can you prevent it from accumulating dirt and grime? We created this guide to share some tips about cleaning grout so that every aspect of the floors in your home can shine.
Why Is My Grout Dirty?
Grout is essential for tile flooring installation but is prone to attracting dirt and grime. Thanks to grout’s rough, porous nature, you will notice it getting dirtier quicker than your tiles. Liquid can also go deep under the surface of grout and alter its colour.
If you have dirty grout in your bathroom, kitchen, or elsewhere, it may be a problem with how you clean it. Spreading dirty mop water on grout and tile is an ineffective cleaning method. The most you accomplish is moving dirt from the tile into the grout.
Common Grout Issues
However, depending on how your grout looks, you might have any number of problems. Pinpointing the exact issue is an excellent first step. You should know what you are dealing with to develop an effective cleaning strategy.
White Residue
White residue on tiles means that water has gone underneath your tiles. The white is the effect of the minerals in the water crystalising. Most often, you will need to contact a professional for help.
Milky or Cloudy Surface
A milky or cloudy look to your tiles is a sign that you used the wrong cleaner. This issue is another one where a professional can offer the best course of action to save the tile.
Stained Grout
As mentioned above, stained grout is associated with poor cleaning methods. You can learn more about how to clean tile and tile grout properly below.
Mould
Mould is another grout and tile issue that requires a more thorough cleaning routine. Mould will naturally grow in many areas where tile and grout are installed, including bathrooms and showers. Try to keep these areas better ventilated to avoid aggravating problems clearing out mould on tiles and in the grout.
Best Methods for Cleaning Grout
The level of time and effort you need to put into cleaning grout depends on what level of dirtiness you are working with currently. Sometimes you can get by with a less aggressive method if the grout has not become too dirty or stained. Check out the recommendations below and see if they will work with your situation.
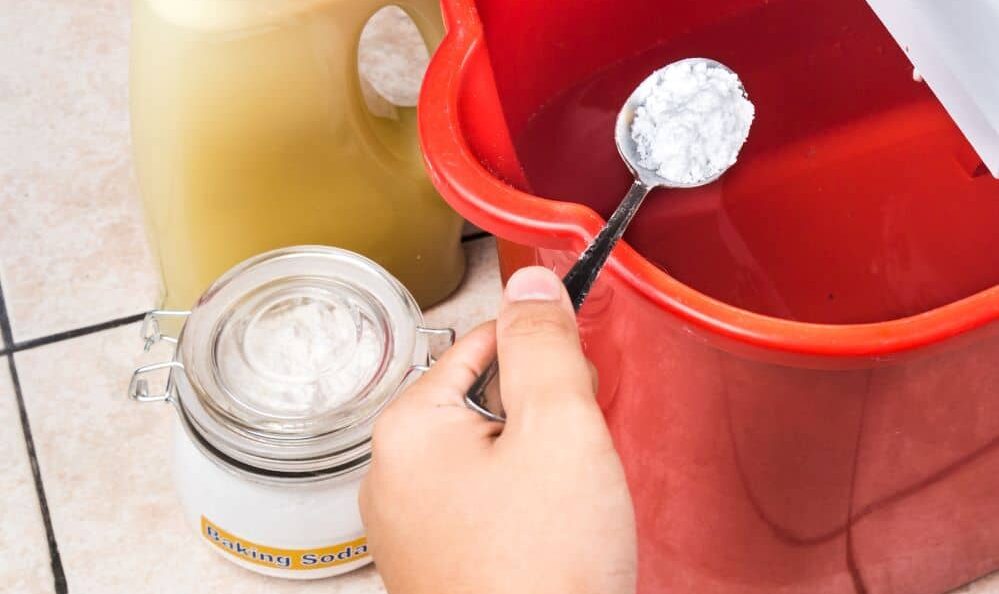
Homemade Grout and Tile Cleaner
A natural, homemade cleaner for both tile and grout comes together quickly. All you need is hydrogen peroxide, baking soda, and dish soap. Baking soda is slightly abrasive and will remove trapped dirt without damaging the grout. Hydrogen peroxide is a more natural option compared to bleach. It will brighten the look of grout and get rid of bacteria.
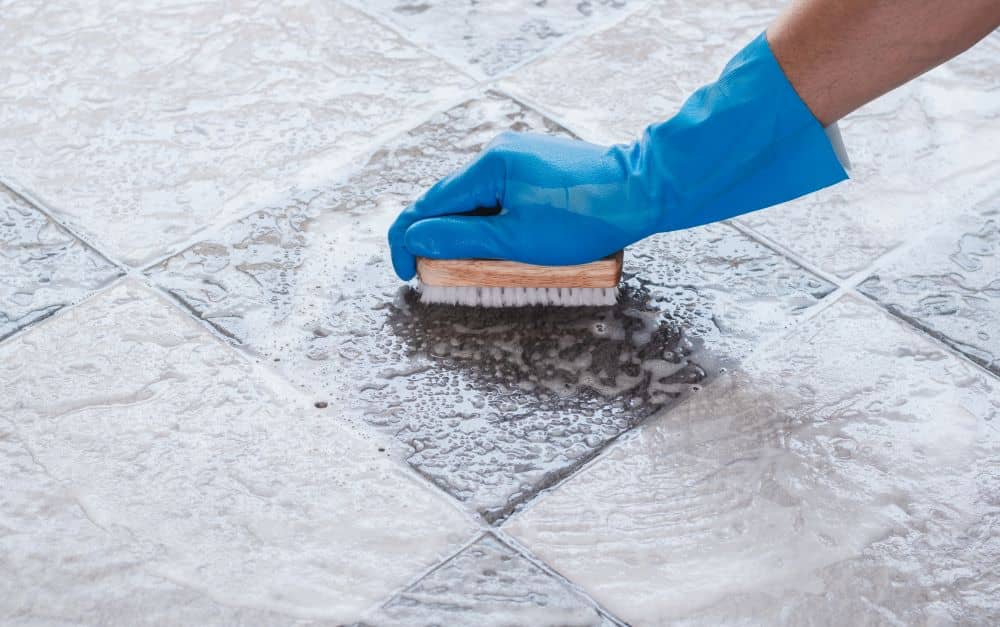
Plain Water and Bristled Brush
If you are looking to maintain grout that has already been thoroughly cleaned, you can use the bare minimum. Spray warm water on the grout and use a stiff-bristled brush to scrub in a circular motion. The warm water and scrubbing motion should loosen any dirt.
Vinegar and Water Mixture
Slightly dirtier grout might need a more thorough cleaning mixture. Equal parts water and vinegar is a common cleaning element around the house. Spray it on grout, let it sit, and scrub again to see results.
If that is not enough, you can also put a baking soda and water pastedown first on the grout. Spray that mixture with pure vinegar before scrubbing in a circular motion.
Commercial Cleaners
If all else fails, you can try a commercial cleaner from the store. These products are made specifically to handle the toughest stains and dirtiest floors. Avoid certain harsh ingredients, like acids, solvents, and chlorine bleach in spray-on products. You might think you are saving time by not scrubbing, but harsh chemicals can ruin the integrity of your grout and tile.
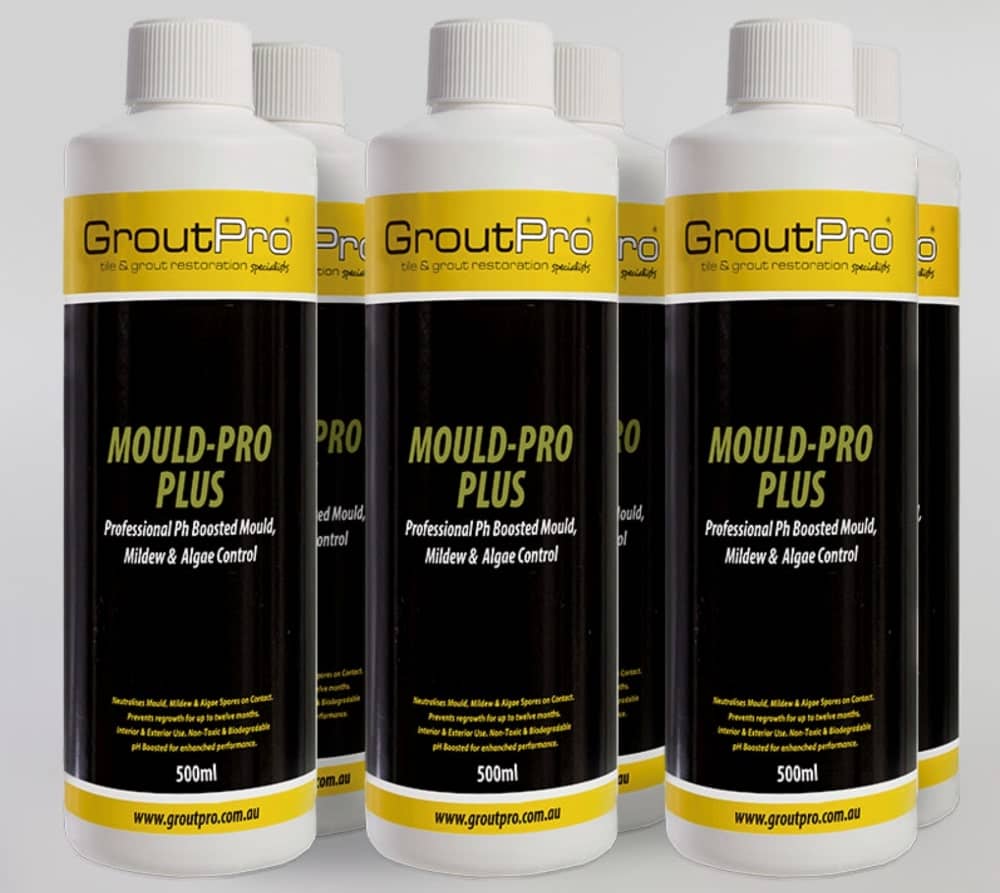
Some popular cleaners available on the market or in a similar form, include:
- GroutPro
- Grout-EEZ
- TriNova
- Mapei
- Absolutely Clean
- Steam Clean
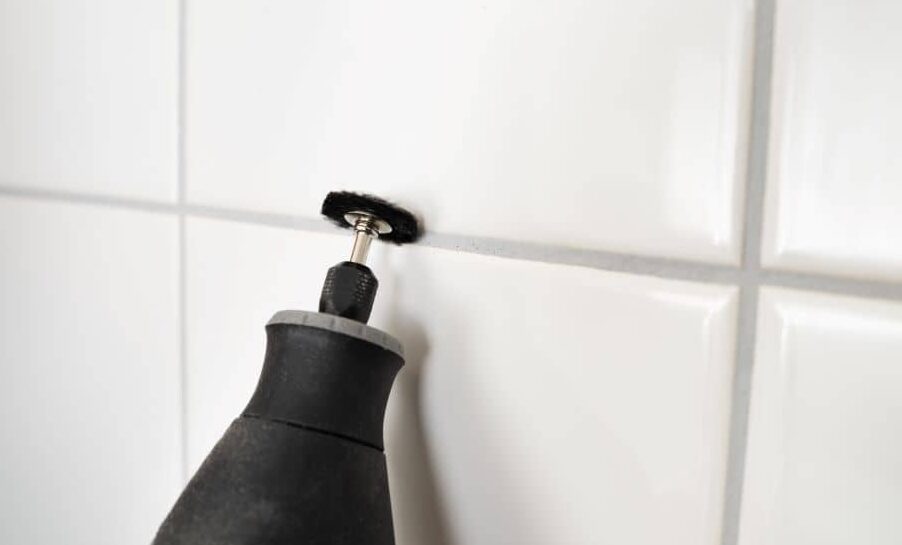
You have one more avenue for the most stubborn of stains. Steam cleaning is friendlier for the environment and works on various hard surfaces, not just tile floors.
Materials You Should Have On Hand
No matter which method you choose to try, you should be prepared with the best materials. You at least need some type of brush, whether it is made specifically for scrubbing grout or an old toothbrush with stiff bristles.
You might also need:
- Old cloth or rag
- Sponge
- Clean water
- Commercial cleaning product of choice OR vinegar, baking soda, hydrogen peroxide, etc.
- Grout sealer
However, there are certain materials that you should always avoid using on tile floors and grout. Anything abrasive is not ideal for cleaning tile because it can scratch the surface. Similarly, coloured cleaners can stain your floors, too.
Other items you should avoid using on or near tile floors include:
- Sandpaper
- Vacuum with a beater bar
- Steel wool
- Metal brushes
Steps for Easy Cleaning
Follow the steps below to effectively clean your grout. They will help you avoid a lot of hassle. But before you settle down to clean anything, make sure you gather the proper gear.
If you will be handling any chemicals, you need to wear gloves and safety glasses.
- Prepare the area by wiping the tile down with hot water. This step will remove dust and dirt visible to the naked eye. Use a sponge to capture the loose dirt and particles.
- Prepare your cleaning solution. If you are using a commercial cleaner, take the time to carefully read the label, especially warnings. If you are mixing your solution, prepare it ahead of time in a mixing bowl.
- Apply the cleaning product or solution. Most cleaners recommend you leave them on for several minutes. This time allows the cleaner to break down any dirt and grime.
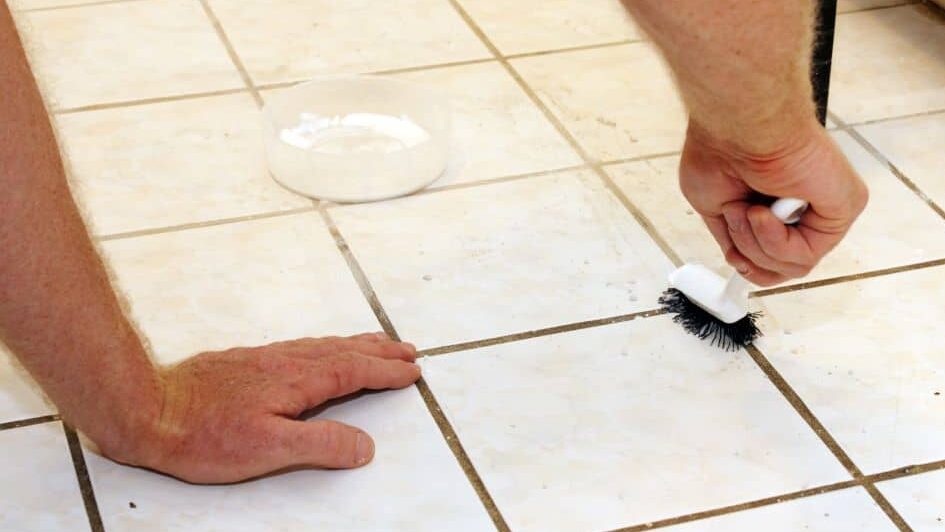
- After letting the product sit on the grout for a few minutes, you should get a brush handy. Scrub in a circular motion all along the grout lines. Afterwards, you can rinse it all with clean water.
- Let it dry. Most recommendations suggest a full 24 hours before you apply any grout sealer.
- After 24 hours is up, you can use a grout sealer of your choice. A grout sealer is not completely necessary. But it will prevent the grout from becoming dirty again as quickly.
Keeping Grout Clean
Once your grout is clean, you can focus on ways to prevent it from getting dirty again. Develop a regular cleaning routine that uses the proper methods. For example, once a week, spray it down with vinegar. Let the vinegar sit and decontaminate the grout and surface of the tiles. Afterwards, you can wipe it off and be on your way again.
Another tip to avoid spreading dirt into the grout between tiles is to vacuum the flooring instead of sweeping it with a broom. Brooms spread dirt around and may even push the dirt down into the grout. A vacuum can draw up dirt before it goes into your grout.
You should also try to keep your grout as dry as possible. Keeping it dry can be difficult in many of the areas where you might install tile floors, but it is imperative. Standing water and moisture will get down into the grout and develop into mould if you are not careful.
Try these methods to keep grout happy and dry:
- Run the bathroom vent after you shower
- Fix leaks immediately
- Seal your grout to add a moisture barrier
Use grout sealer as early as two weeks after you have grout installed. This product prevents moisture from penetrating the grout and causing discolouration.
Were My Tiles Installed Properly?
Hollow tiles are a common indicator of an improper tile installation. Hollow or loose tile means that the adhesive is not bonded to the floor. This abnormal bonding creates a gap between the surface of the floor and the tile. Take care of hollow tiles as soon as possible. Loose tiles will begin to crack, break, and lift.
There are also ways to tell if your grout is not sealed well. Usually, you can tell weak grout from sight. It will be very porous and even show areas of crumbling and disintegration where moisture has gone inside. You can check the seal on your grout by spraying it with water. After several minutes, unsealed grout will change colour or become darker.
Create a Routine and Follow Through
At the end of the day, the best method to keep your tile floors and grout clean is to develop a consistent routine. You should be regularly cleaning your tile and grout to avoid the buildup of dirt, grime, or even mould.
And when you do need to clean your grout, start with a simple method. You can always try a more aggressive option or cleaner. You can save yourself lots of time and frustration by calmly working through your plan of action.
Frequently Asked Questions About Cleaning Grout
The most effective DIY mixture is equal parts baking soda and hydrogen peroxide with a small squirt of dish soap. The baking soda provides gentle abrasion, while hydrogen peroxide kills bacteria and brightens. Mix into a paste, apply to grout lines, wait 10 minutes, then scrub with a stiff brush. Much cheaper and often more effective than most commercial cleaners.
If it's black and appears in bathrooms or other damp areas, it's likely mould. Unlike regular dirt, which builds up gradually, mould appears as distinct dark spots and thrives in moisture. Improve ventilation (run exhaust fans, open windows), clean with a hydrogen peroxide solution, and consider resealing your grout to prevent future mould growth.
Light maintenance weekly (vacuum instead of sweep, wipe with vinegar-water solution), deeper clean monthly, and professional clean or reseal annually. Don't wait until the grout looks dirty; preventative maintenance is much easier than deep cleaning stained grout. For bathrooms and high-traffic areas, you need more frequent attention.
Before considering replacement, try this progression: start with baking soda paste, commercial cleaners, and steam cleaning. If none work, you can try grout colourant/sealer products that both recolour and seal the grout. Full replacement should be your last resort, as it's expensive and can potentially damage surrounding tiles.