When installing a new floor, you must cover and conceal the exposed, cut edges. Flooring trims are the best way to hide imperfections or chips and make everything look clean and flush.
You implement trims when transitioning flooring from one room to another or in tricky places where you can’t use scotia or skirting.
This includes:
- Floor-to-ceiling
- Windows
- Doors
- Benchtops
In this post, we cover the most common situations that require trims and the different types of trims available.
Expansion Gaps and Floor Trims
When breaking up a floor from raft to raft to allow for expansion, flooring trims conceal this expansion gap.
Below are two of many different types of products you can use to achieve this:
H Profile Trim
As the name suggests, this trim looks like an H laid on its side. It has clearance for the flooring to sit on either side. You must install it before laying the flooring product, and then it will sit inside the slots provided by the H trim. The trim typically has an overhang wide enough to expand and contract on either side. Although very flat, you infrequently use this trim because of the pre-installation requirement.
. You can find more information on expansion gaps in this blog post.

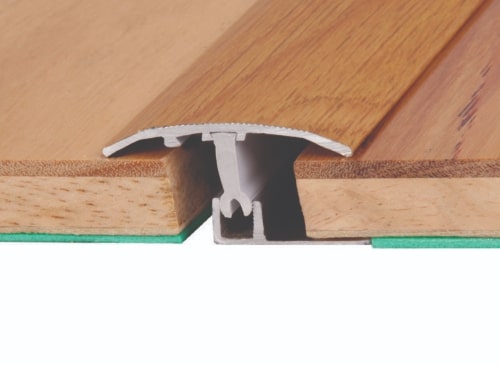
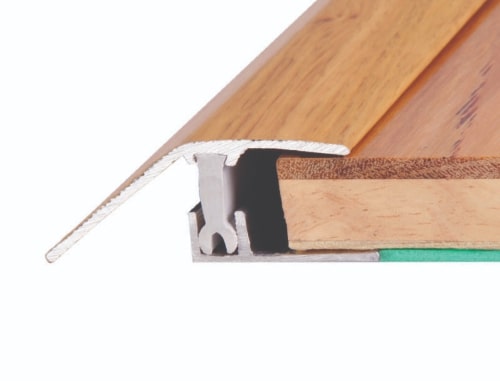
Multipurpose Trim
In some cases, the multi-purpose base either screws, glues or nails to the floor. Some other variants use a plug arrangement where you drill plugs into the floor instead of using the base. Whichever system you use, the trim connects directly to the floor.
You can typically use the two slots on the top of multi-purpose trims to attach them to the base arrangement. One slot allows it to sit level for products of an even height. The other slot is slightly offset, allowing you to create a small ramp for products with a difference of up to about 5mm.
Trims for Different Floor Coverings and Doors
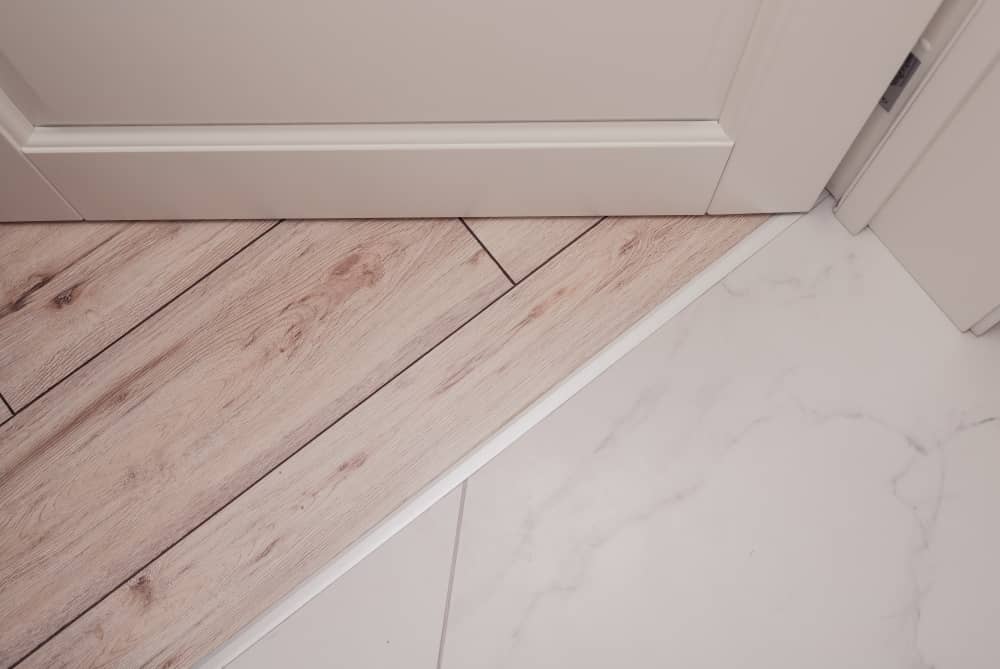
A few main options are personal preference when dealing with doorways with different floor coverings. For some, the multi-purpose trims mentioned above might be perfect for connecting one flooring type to the carpet. However, some people are dissatisfied with this look and prefer to tuck it against the trim against an aluminium angle trim.
C Section
You usually use these trims against upright surfaces like door tracks or kitchen benches. In open doorways leading into carpeted areas, you can tuck the carpet into a space between the trim’s back and the carpet’s smooth edge, leaving a nice, clean finish.
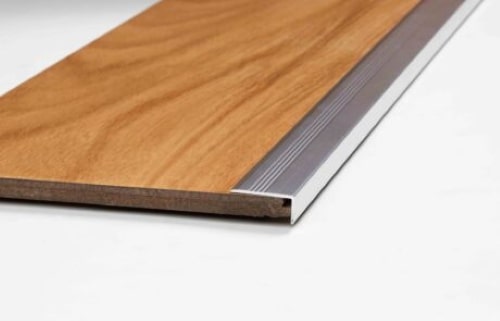
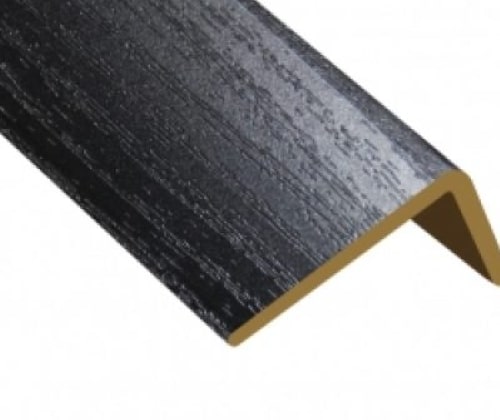
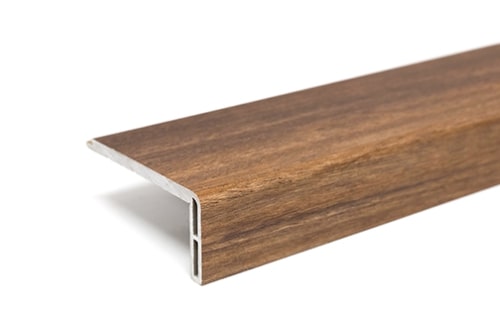
L Trims
Also called an Angle End, This is like a C Trim without a base. However, rather than bonding to the floor, the L trim goes against the wall or surface it is pushing up against. They are more fragile because the trim has limited space to bond with them and can become loose. However, they are versatile as they are installed after the floor is installed.
C Trim Variant
Sometimes referred to as a Border Profile, this multipurpose variant uses a track similar to a multi-purpose trim below but has a top section that finishes it like a c-channel. The challenge is that they are pricier, bulkier, and not as flat as c-channel. Also, some suppliers do not make them. They are, however, very strong and may be installed after installation.

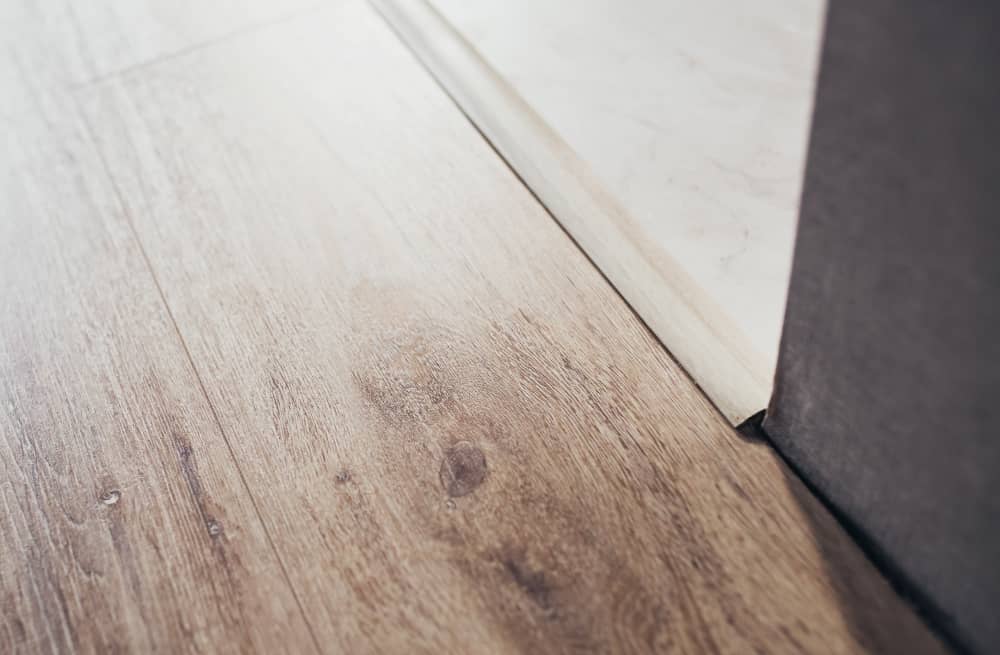
Height Differences in Flooring
If you are going from one flooring type to another and there are distinct height differences, multipurpose trims can work well when you are going from 14mm engineered flooring to a 10mm tile, as the trim can accommodate this amount of height variance.
But let’s say there is a more significant drop from a 14mm timber to a 2mm vinyl plank:
Ramp Trims
These are explicitly dedicated to significant height differences between flooring types where they meet. They work the same way as the multipurpose trim in that it has a base & channel arrangement. These are rare because people typically do not have these drops between flooring types, but they do exist. They are more unsightly compared to the other trims.
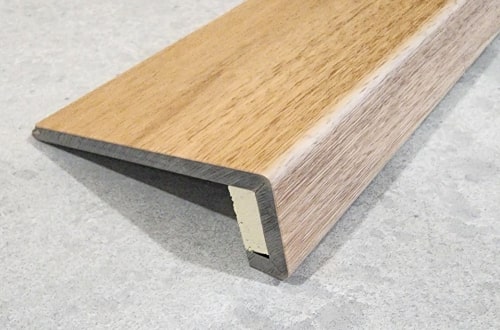
Stair Nosing
When dealing with stairs and most flooring types, a few different options are available:
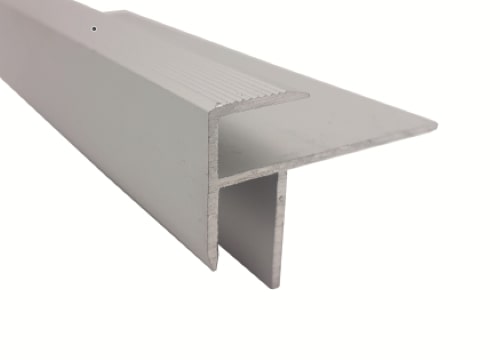
Aluminium Stair Nosing
It can be used to create a box stair where you join the planks as the stair riser and the tread. This is the less visually appealing method but is the cheapest.
Prefabricated Stair Nosings
These are colour-matched to the product. Many hybrid floors like Terra Mater Floors Resiplank Hybrid can have stair nosing that will connect to the product, using the product’s exact picture film. Depending on the supplier, they typically come in 2.2m or 2.4m lengths and can be cut to the size of your staircase, which you install as you lay the flooring. They are cost-effective and a very good option aesthetically.
The only downside is that these trims often lack the same wear layer protection as the flooring and are only coated in polyurethane, making them less resilient than the rest of the floor.
Custom-Made Stair Nosing
Many suppliers will send the product away and turn it into a stair-nosing. This is the most expensive but best-looking and resilient option because it is seamless. It also issues the same locking system that your floor does.
- The pro is that this product is on your floor with the same wear layer and sheen.
-
The con is that the widths can only match the length of the floorboard. This process can become wasteful because most stairs are 800mm to 1000mm wide, resulting in many offcuts.
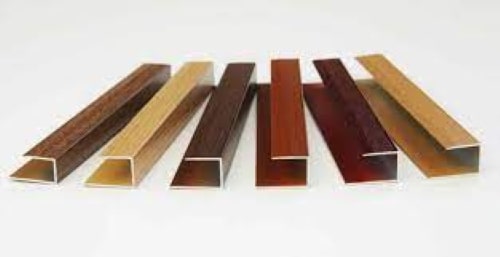
Colour Matching
Most scotia come in a colour that matches the flooring. Some suppliers bring in a colour match for every product they do. Terra Mater Resiplank Hybrid is a great example of this. Other suppliers have a “best match” arrangement, offering a range of colours and matching them to their products as best they can. For instance, they might have a single spotted gum colour for Scotia, which goes with all their spotted gum and similar coloured varieties across different ranges. As you might have guessed, this might be a differentiating factor regarding cheap vs expensive flooring.
This is also true for other trim types, where suppliers keep vinyl-wrapped trims to closely match their flooring products.
Colour matching can be quite a complex process, and in some cases, a product can be close enough but not right and can look worse than a metal trim. As always, beauty is in the eye of the beholder.
Skirting & Scotia Around the Outer Edges
We also thought it necessary to cover skirting and scotia briefly to avoid confusion.
When updating your floors, you can remove the existing skirting around your home, install the new floor and reinstall the skirting. This covers the exposed outside edges of your flooring and is the most favourable way to deal with edge-to-wall situations around your home.
In this situation, you can install scotia in front of it to hide exposed product edges and any required expansion gaps, performing a similar role to skirting. Sometimes, people don’t want to remove the skirting and install Scotia instead.

Expert Insights From Clem Sturgess
20+ years' experience in hard flooring
Removing and replacing skirting is the cleanest way to finish your floor. We see scotia as a last resort rather than as pleasing to the eye. Yes, it will add a few hours to the job, but skirting looks like the job is done properly. Considering how long the floor will be there, it is worth the extra time.
Frequently Asked Questions About Flooring Trims
Scotia is a small, quarter-round trim installed against existing skirting boards to cover expansion gaps when you don't want to remove the original skirting.
Skirting boards are larger baseboards covering the gap between the wall and the floor. Removing and replacing skirting generally gives a cleaner, more professional finish than scotia, which is considered more of a last resort when skirting is difficult to remove (like when it's concreted in).
While scotia is faster to install, the extra time spent on proper skirting installation is worth the aesthetic improvement, especially considering how long your floor will be in place.
A multipurpose trim with an offset slot works well for minor height differences (up to 5mm). Use a dedicated ramp trim that gradually slopes between the surfaces for significant height differences (like 14mm timber to 2mm vinyl).
The key is selecting the right profile. If heights are similar, an H-trim gives the flattest, most discreet transition, but it must be installed before the flooring. Ramp trims create a smooth, gradual transition for more significant height disparities but are more visible. Always measure the exact height difference between your floors before purchasing transition trims.
For stairs with floating floors, you have three main options:
Aluminium stair nosing (most economical but least attractive), prefabricated colour-matched stair nosing (good middle ground between appearance and cost), or custom-made stair nosing from your actual flooring material (most expensive but provides the best appearance and durability).
The prefabricated option offers a good balance, coming in 2.2m or 2.4m lengths that can be cut to fit your stairs, but be aware that they may lack the same wear layer as your flooring. For high-traffic staircases, the investment in custom nosing is usually worth the additional cost for longevity.