Do you have the perfect flooring picked out for your space and think you are done planning? Not quite.
Depending on the flooring you have selected, including loose lay vinyl, hybrid, laminate, timber and carpet tiles, using a carefully chosen layout technique or pattern can elevate your design, add artistry, increase resale value, and create a polished appearance.
Here, we’ll explain some of the most popular patterns for laying out your flooring to help you decide which option would best showcase your space.
What To Do Before You Install Your Floors
We strongly recommend dry-fitting your pattern before actually having your flooring installed. This allows you to get an idea of how the end product will turn out and hopefully avoid any awkward cuts or patterns.
Here are some questions to keep in mind when choosing a pattern:
- Will items such as furniture or area rugs obscure the pattern?
- Is your room long and narrow? Is it short and wide? Would you like to make it appear bigger?
- Do you want your flooring to be a focal point?
- Do you have a certain design style in mind that you would like your flooring pattern to mesh with?
- Does your room have angles and obstacles that will be awkward to work around?
- Which flooring option would best suit your home or business?
- Are you installing the flooring yourself or hiring a professional installer?
7 Fun Flooring Patterns
1. Grid
The grid pattern, also known as stack bond, is one of the most common layouts. This universal pattern is perhaps the easiest to lay and offers a clean, simple, straightforward appearance.
The grid flooring pattern is particularly popular when using tiles.
The most important consideration for the grid pattern is to avoid visible “slivers” (thinly cut planks or tiles) as these add an unprofessional, shoddy appearance. This is where the importance of “dry-setting” is emphasised.
Once you lay out your flooring, make sure you do not end up with an entire plank or tile on one end of the room and a thinly cut one on the other. Try offsetting the design so that each end of the room shows an equal amount.
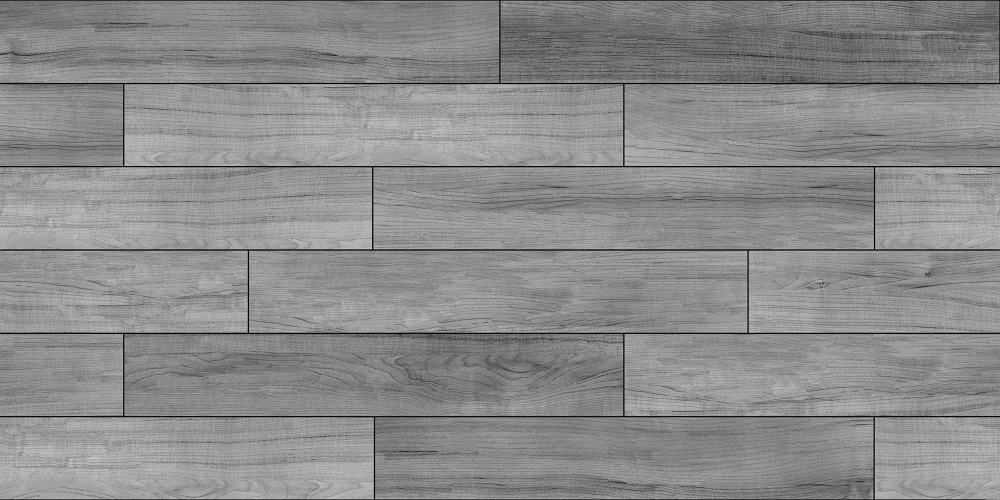
2. Offset
Another universal pattern, the offset pattern — or running bond — features planks or tiles that are laid out and then shifted in each row to create an offset pattern. This timeless pattern offers several options:
- 50/50 Offset – This common running bond pattern creates a strong traditional look. It features flooring offset by half the width of each other (pictured below)
- Varied Offset – This style (40/60, 30/70) creates a more natural, softer finished look.
A 50/50 offset flooring pattern.
Planning this layout correctly will lead to minimal cuts; since you can cut a piece from one row and save it to start the next row, rather than throwing it away.
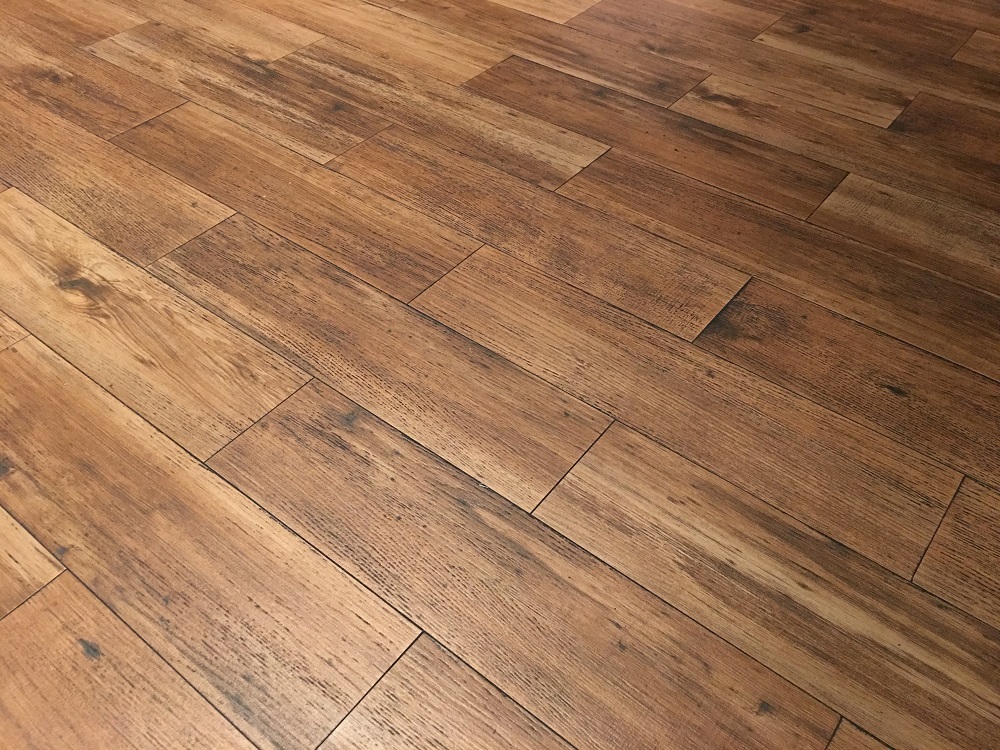
3. Stagger
The stagger pattern features planks arranged on alternating sides of a centreline. Staggering the joints eliminates vulnerable seam joints and produces a fluid, uniform look. Staggering the joints in thirds offers the best results.
This layout features both staggering and random patterns.
4. Diagonal
The layout technique — a slight variation of the offset pattern — features planks set on a 45-degree angle from the walls. A diagonal technique can make a small room appear larger by adding a unique perspective and dimension to a room. It can also hide imperfections in rooms that do not have perfectly square walls.
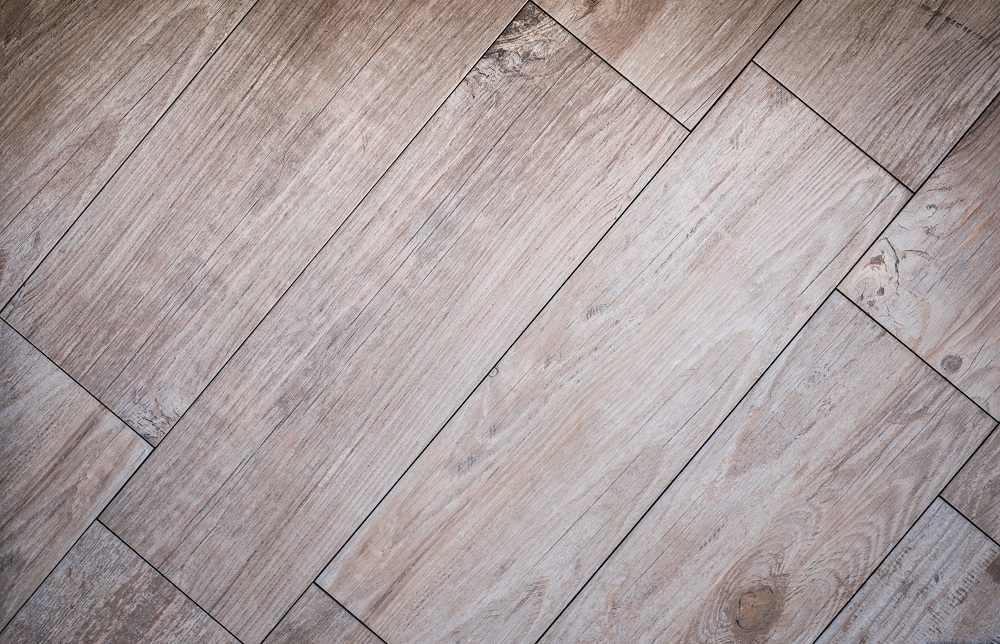
A diagonal pattern can make a small room appear larger by adding a unique perspective.
Any pattern can be turned at an angle to automatically enhance a space with a more dynamic look.
However, because the planks or tiles do not line up with the walls, setting them at a diagonal increases the number of necessary cuts at the perimeter and may not be ideal for novice installers.
5. Herringbone
This classic flooring pattern, sometimes known as zig zag, is meant to resemble fish scales and can add a level of sophistication and luxury to a design.
To achieve a herringbone pattern, take a luxury vinyl plank and turn it so it is perpendicular to another plank. Align them alongside one another and repeat until you have your entire pattern laid out.
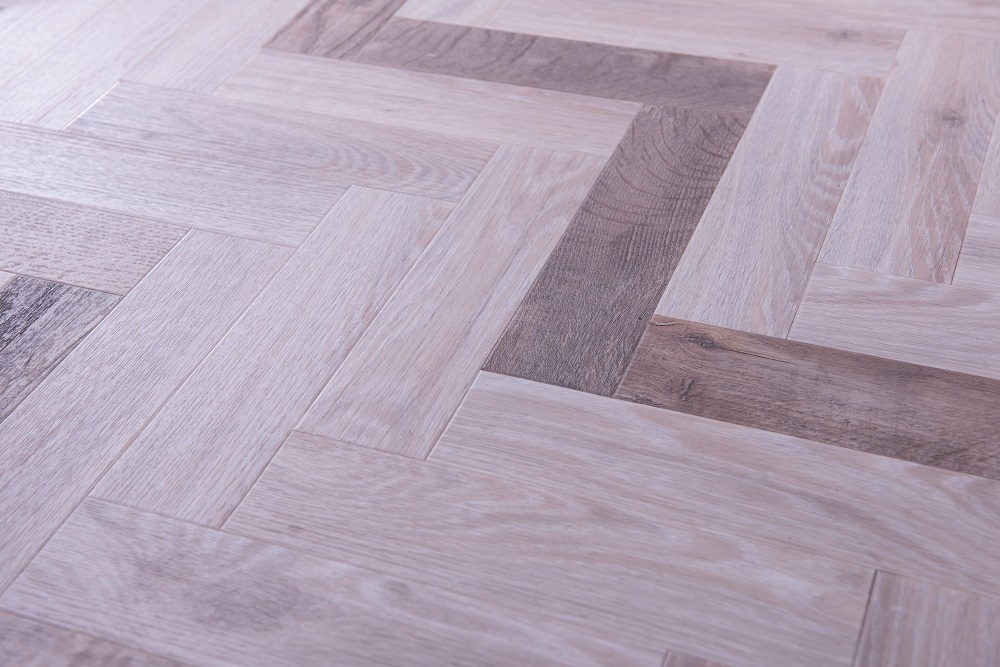
The herringbone (or zig zag) pattern resembles fish scales.
Essentially, you are creating an L-shaped design with two planks. Another L will then be laid adjacent to the first and so on to repeat the pattern. Any size rectangle plank will work for herringbone patterns, creating a dynamic finished look that fits perfectly with both traditional or contemporary settings.
6. Random
A random pattern is just as the name states, a random arrangement of planks laid out in no particular design. This versatile look can be exciting, unique, and fun to lay out.
For a unique, natural look, try the random flooring pattern.
Again, by laying out your design prior to installation, you can easily see if a random pattern is ideal for your setting without actually committing to it.
7. Chevron
We saved the most difficult layout for last — the chevron pattern. Featuring clean lines repeating at an angle, this fun looks creates a zigzag design.
It requires each plank to be cut — ideally with a mitre saw — at a 45-degree angle on both ends. Since these two cuts must be exactly 45 degrees and match up precisely, there is zero room for error.
Once the necessary cuts are completed, a centreline is established. Then, two tiles are placed on the opposite side of the centreline to create the first chevron pattern. Then, the design is repeated in the next row in the opposite direction. Extreme care must be taken to make sure all edges are seams line up correctly and tightly.
The chevron pattern is only recommended for professional floor layers.
Because of the complexity of this pattern, beginners may wish to enlist the help of a professional installer.

Expert Insights From Levi Saunders
Online Retail Specialist & Flooring Content Creator
Timber Flooring Types
Tip: We have 100s of professional installers in our network Australia wide. Contact us and we can put you in touch with your closest one.
How to Determine The Right Flooring Pattern For Your Home
We realise it can be overwhelming to research the different flooring layout patterns and decide which one would be ideal for your space. That’s where our expert team at Online Flooring Store comes in!
By asking questions about your space such as how many square metres is it, what is the layout like, and what look would you like to achieve, we can help you determine the best flooring pattern for showcasing your space. We can also let you know if the design you are looking at is DIY friendly or if it will require the expertise of a professional installer.
Contact our friendly, experienced team today and we would be glad to help you with any and all things flooring!
Frequently Asked Questions About Flooring Patterns
While it's possible, I strongly recommend starting with simpler patterns like grid or offset for DIY installations. Herringbone requires precise measurements and cuts that can challenge even experienced installers. If you're set on this sophisticated pattern, consider having a professional handle the installation to ensure those beautiful angles line up perfectly.
Yes! It's one of my favorite tricks for smaller spaces asa. floor layer. Setting flooring at a 45-degree angle creates lines that draw the eye across the room diagonally, which effectively makes the space appear larger. Just keep in mind that you'll need to factor in about 10-15% more flooring material for all those angle cuts at the edges.
The grid (stack bond) pattern is your most budget-friendly option. It requires fewer cuts, wastes less material, and takes less time to install; whether you're doing it yourself or hiring a professional. Plus, its clean, simple lines work beautifully in any space, from contemporary to traditional.
You're not alone! Many rooms aren't perfectly square, which is where the offset or random patterns really shine. These layouts are more forgiving of slight wall irregularities and can actually help camouflage any imperfections.
If you're working with particularly uneven walls, a diagonal pattern can be a clever solution as it naturally creates triangular spaces at the edges that make variations less noticeable.