Although they are known for their astounding natural beauty and durability, hardwood floors are not completely immune to the effects of time, wear, and tear. Fortunately, timber flooring can be refinished multiple times.
When properly refinished, timber floors can look brand new, making hardwood flooring an option that can truly last a lifetime.
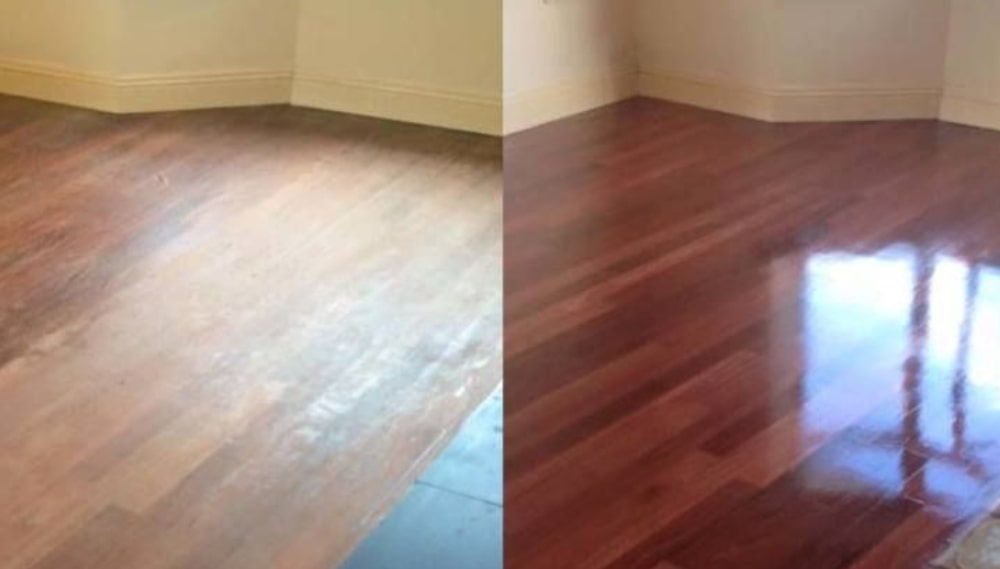
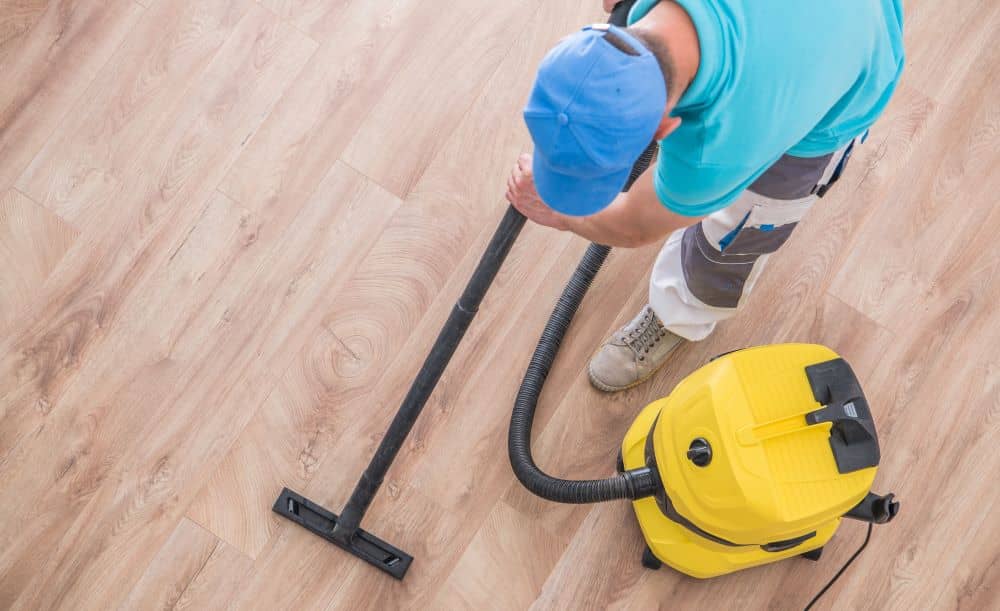
Refinished hardwood floor, before and after.
How Many Times Can Hardwood Floors Be Refinished?
As a rule of thumb hardwood floors lose about 1mm every time they are fully sanded and resealed. Solid timber floors can be sanded down as far as the tongue on the floor, and engineered flooring as far as the veneer. As a rule of thumb, a floor may be fully sanded several times equal to the ‘thickness of the timber above the tongue/thickness of the veneer minus 1’. This means that a floor with 4mm of timber above the tongue can safely be sanded and recoated 3 times. If the floor had 6mm above the tongue, this can be done 5 times.
The option to do what is called a ‘Light Cutback’ also exists where you do not sand off the old coating, but rather ‘Rough it up’, and then reapply a new coating over the top. This is a less intrusive option than fully sanding the coating from a floor, but must be done with greater frequency.
Download our Ultimate Guide to
Understanding Timber Flooring
How Often?
As a general rule, hardwood floors should be fully sanded and refinished approximately every 10 years, depending on how well they have been cared for if this is the option you are choosing.
If you are applying light cutbacks, this should be done every 3-5 years to keep the floor in tip-top shape. Again, this depends upon how well the floor has been cared for.
Timber floors experience different wear patterns based on how much traffic they receive. Some timber floors may simply require a light cutback. However, if the wear is excessive, a total re-sand and re-finish will be needed to bring the floors back to their original state of beauty.
To check the finish in high wear areas, add a few drops of water on the surface. If the water beads, it means the finish is still intact and may just need a cleaning instead of recoating.
If the water begins to soak in after a few minutes or the colour of the timber darkens, the flooring may need to be refinished.
Working in With a Renovation
To do the job we recommend finding a flooring professional that is a member of the ATFA (Australian Timber Flooring Association) and licensed with the QBCC.
If your hardwood floors are being sanded and refinished as part of a home renovation project, it is generally best to save the flooring work as the final task. Also, as Polyurethane coatings can be quite noxious, it may be a good idea to find somewhere to stay for a few days.
Humidity & Living Arrangements
Since timber is a porous material that absorbs moisture quickly, especially when the old finish is sanded away, high humidity and rain will cause the finish to take longer to dry.
It is important to plan ahead when hardwood flooring is being refinished. The room being redone will be unusable for several days while the work is completed. The smell will also permeate the house, so it may be best to find alternate accommodation for a couple of days.
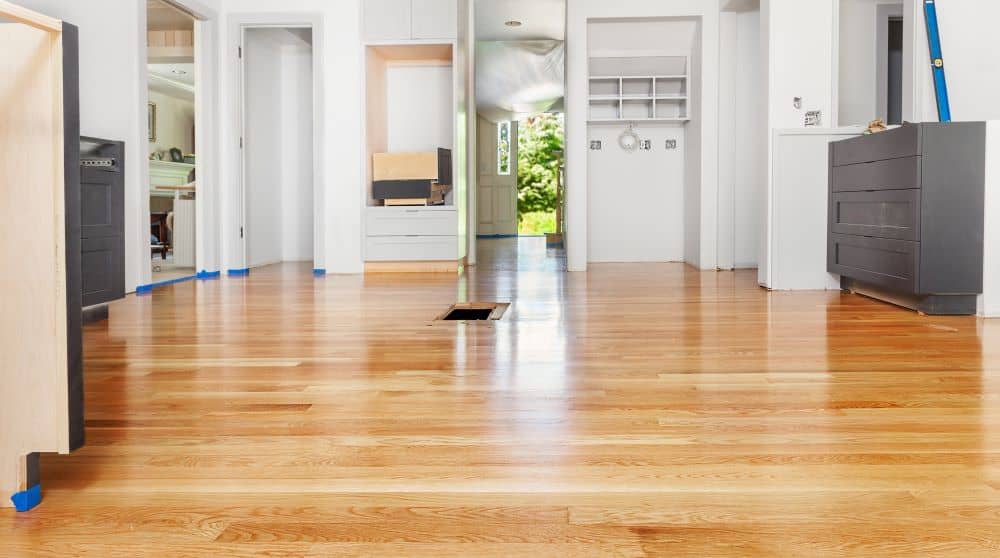
Steps in Refinishing
Refinishing hardwood floors involves sanding down the old floors and adding a new polyurethane coating to the exposed wood.
Here is a simple breakdown of the refinishing process:
- Punching – A flooring professional will punch putty and nails. (This is only necessary if the floor is top nailed.)
- Sanding – Damaged areas will be sanded off with coarse, then medium, then fine sandpaper.
- Removing Dust – A contractor will clear the remaining dust from the floor once the sanding process is finished.
- Coating – Two or more layers of polyurethane coating will be applied to protect the finish (these put off a potent odour until they set)
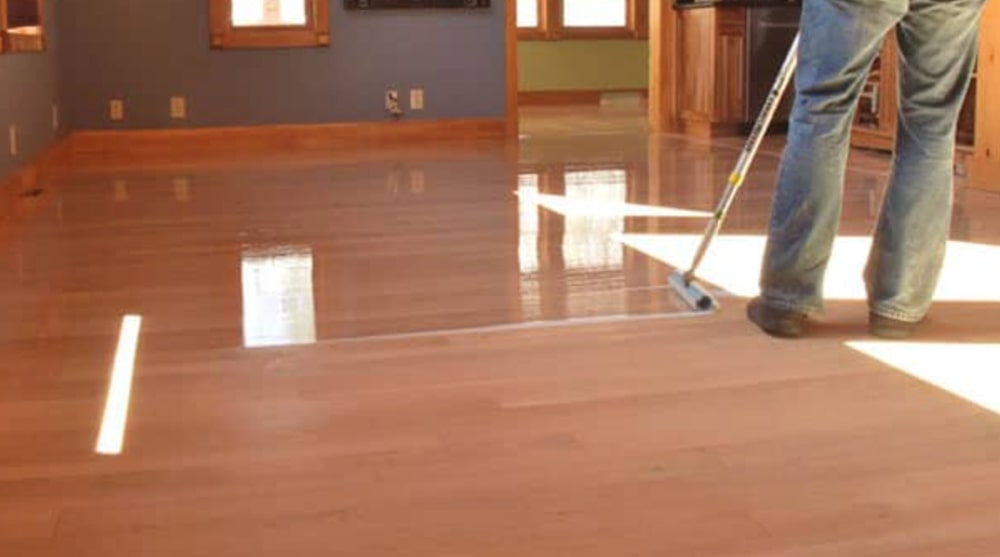
Polyurethane coating protects wooden floors from scratches and spills that come with everyday life.
Considerations When Sanding
As with flooring installation, we strongly recommend hiring a professional tradesman for the refinishing process. However, if you choose to tackle the sanding and staining process yourself, here are some basic tips for making the refinishing process easier.
- Prep the area that will be refinished by removing all items from the room and sealing off the area
- Be aware that the sanding process will be loud and dusty and plan accordingly to have the room completely cleared and have alternate living arrangements if needed
- Be aware that the staining or coating process may involve strong fumes
- Avoid using a small palm sander and consider renting a large drum sander instead to save time and produce a smoother, more professional outcome
- Start the sanding process in an inconspicuous area
- Always keep the sander in motion
- Sand with the wood grain
- Start with a relatively low grit such as 20 or 60
- Remove only as much surface material as needed to remove any old top coatings or imperfections
- Once the imperfections have been removed, increase the grit to 100 or 120 to remove any scratches and create a smooth surface
- Vacuum in between sanding with different grits (dust may change the way sandpaper affects the surface)
- Vacuum extremely well once all the sanding is complete and use a tack cloth to remove excess dust
Room Preparation
To prepare a room for hardwood floors to be refinished, move all furniture and objects out of the room, including wall hangings, window coverings, and any doors that the wood flooring passes through.
Cover any electrical sockets and tape plastic over lighting fixtures. Seal any door openings to prevent dust from getting in the rest of your house (make sure there is good ventilation through a window).
Timeline
The process of sanding and refinishing a Timber Floor with polyurethane Lacquer usually takes at least 3 days. The floor must be sanded and dust is allowed to settle and be cleaned off before the first coat is applied, or the coating may experience rejection. After the first coat is applied, it must also be allowed to sit in a still environment, as dust particles may again cause coating rejection. The last coat cannot be applied until the first is fully cured. It also must be allowed to set in a still environment so that no contaminants pollute the coating.
Damaged Hardwood Floors
While refinishing hardwood floors can give them a second life, some issues may not be possible to fix completely.
These include:
- Water Damaged Floors can be sanded flat, but there is every chance over time, that they will continue to change shape as they release the additional moisture that they have taken in.
- Deep cuts and gouges can be filled with putty and repaired, but this will be visible on the floor.
Care for Newly Finished Floors
While it is possible to walk on a floor after the initial hardening of its finish, it is still important to take some precautions. It may take several days to weeks for the curing process to be completed.
In the meantime, here are some tips to protect your newly finished hardwood floors:
- Do not lay any rugs down until the finish has fully hardened
- Do not use rugs with rubber backings (these may stain)
- Place protection pads on furniture (lift rather than slide furniture)
- Do not use chairs with ball castors until the finish has hardened
- Heavy items should be carefully placed and never dragged over newly finished floors
- Do not walk on newly finished floors with high heels or sports shoes
Refinishing Hardwood Floor Quick Tips
Whether your timber floors are brand new or have just been refinished, the following tips will keep your hardwood floors looking their best for as long as possible.
- Never steam clean hardwood floors. When mopping, keep water to a minimum.
- Sweep, vacuum (with a soft head vacuum cleaner), or use an anti-static mop regularly
- Only use cleaners that have been specifically approved or recommended by the manufacturer
- Do not use detergents, ammonia-based cleaners, polishes, bleach, harsh cleaning soaps, abrasive cloths, steel wool, kerosene, turps, or wax-based products (unless the flooring has a coating with wax or oil)
- Declare your home a “shoe-free” household
- Placemats or area rugs at all doorways
- Use floor protectors on the bottom of furniture and appliances
- Lift chairs rather than sliding
- Wipe up any spills immediately
- Trim pet nails regularly
- Consider using a rug or carpet runner in high-traffic areas
- Maintain normal living conditions in your home (no humidity or temperature extremes)
- Protect your floor from excessive direct sunlight by using curtains or blinds
- Occasionally rearrange furniture and rugs to allow the colour and finish of the flooring to age evenly
Timber species differ in hardness, colour, coatings, and finishes, meaning they may require specific cleaning products or methods of care. When in doubt, it is always best to check with the flooring manufacturer on cleaning guidelines for your timber floors.
Learn More
If you would like to learn more about refinishing hardwood floors or need help deciding if timber floors are right for you, we welcome you to reach out to one of our friendly team members.
With decades of experience in the flooring industry and genuine care for our customers, we are here to help you with all your flooring needs. Whether it is one room or an entire house, a commercial application, or just general flooring questions, please do not hesitate to contact our team.
Frequently Asked Questions About Refinishing Hardwood Floors
Here's the thing: waiting longer usually just makes matters worse. Deep scratches and water damage won't magically disappear, and water-damaged areas can continue to change shape over time as moisture is released. While refinishing won't completely eliminate deep gouges (we'll need to fill these with putty), getting onto it sooner rather than later prevents further deterioration. Think of it like servicing your car: you don't wait until the engine fails to get an oil change!
This is probably the question I often get asked, and I understand the eagerness to get your space back to normal. But here's the brutal truth: while you can walk on the floor after the initial hardening, complete curing can take several weeks. During this time, your floor is like a fresh manicure. It might feel dry to the touch, but it's still vulnerable.
No rugs at all until fully cured (especially those with rubber backing; they're absolute floor killers), and when you do move furniture back, lift it, don't slide, and make sure you've got those protection pads fitted. Remember, a few weeks of patience can mean years of beautiful floors.
For more tips on furniture moving, read Furniture & Space Preparation for New Flooring.