Last edited: 10/11/25
To some, nothing is more devastating than gouged, chipped, scratched or stained flooring. If you have done the work and spent the money to achieve the results you were after, you want perfection to last. Seeing that unsightly reminder of a seemingly avoidable accident can gradually send some of us around the bend.
For the rest of us, we are reminded annually by that stickler relative who comes around at Christmas and sees it as their duty to point things out, such as imperfections around the home. As if hosting wasn’t hard enough.
For many of us, the journey to restoring or replacing damaged flooring has been arduous, based on trial and error and frustrating for onlookers. Luckily we have identified your pain!
Let us embark on a guide by category on replacing and repairing different flooring types.
We hope this helps and that you get the satisfaction of restoring your flooring to its former glory.
Overview:
- Vinyl Plank Flooring Repair/Replacement Tips
- Hybrid Flooring Repair/Replacement Tips
- Laminate Flooring Repair/Replacement Tips
- Timber Flooring Repair/Replacement Tips
- Water Damaged Floor Repair/Replacement Tips
- We (Sort of) Forgot to Mention Bamboo
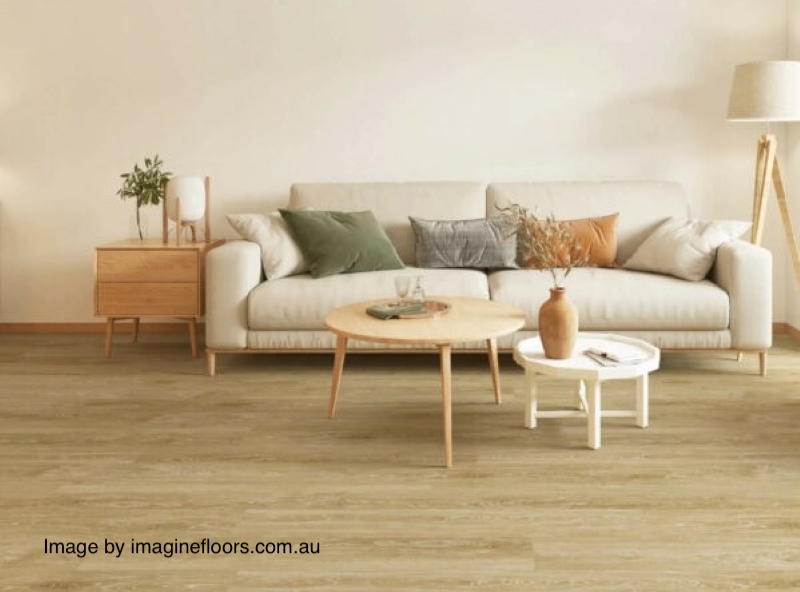
Vinyl Plank Flooring (LVT)
In the past, Vinyl Plank Flooring was an option that could be loose-laid vinyl. This was a complete failure, and now it must be glued. Suppliers generally advise you to use a hard-set adhesive instead of a pressure-sensitive adhesive. So much so that warranties may become void if you don’t stick to this (pardon the pun).
The pressure-sensitive adhesive never truly hardens but rather tacks off and creates friction with the subfloor. This allows the product to contract and expands slightly over the seasons. Most suppliers now see this as unsuitable as it does not stop growth and shrinkage in the product, which is the main complaint with Vinyl Plank Flooring. In the past, this option allowed us to lift it out and replace a damaged plank with a new one using the same adhesive. With a hard set adhesive, this option no longer exists.
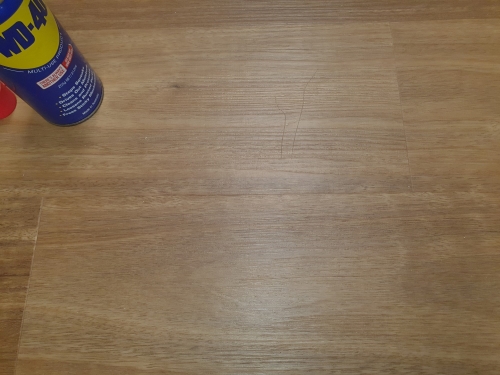
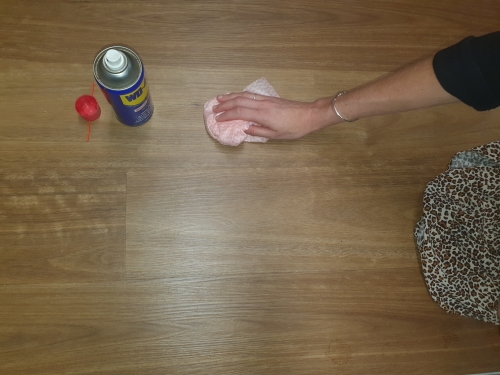
Assuming we are dealing with a scratched Vinyl Plank: It is quite often an easy fix. An oil-based product such as WD-40 or other oil-based lubricants can be used. Do not directly spray onto the floor, as this creates a slip hazard. Rather, spray the product directly onto a small rag area, and buff out the scratch. Then use a dry piece of the rag to wipe the same area again, with a good amount of elbow grease. This method will most times disguise a minor scratch to the point of it not being visible to the naked eye.
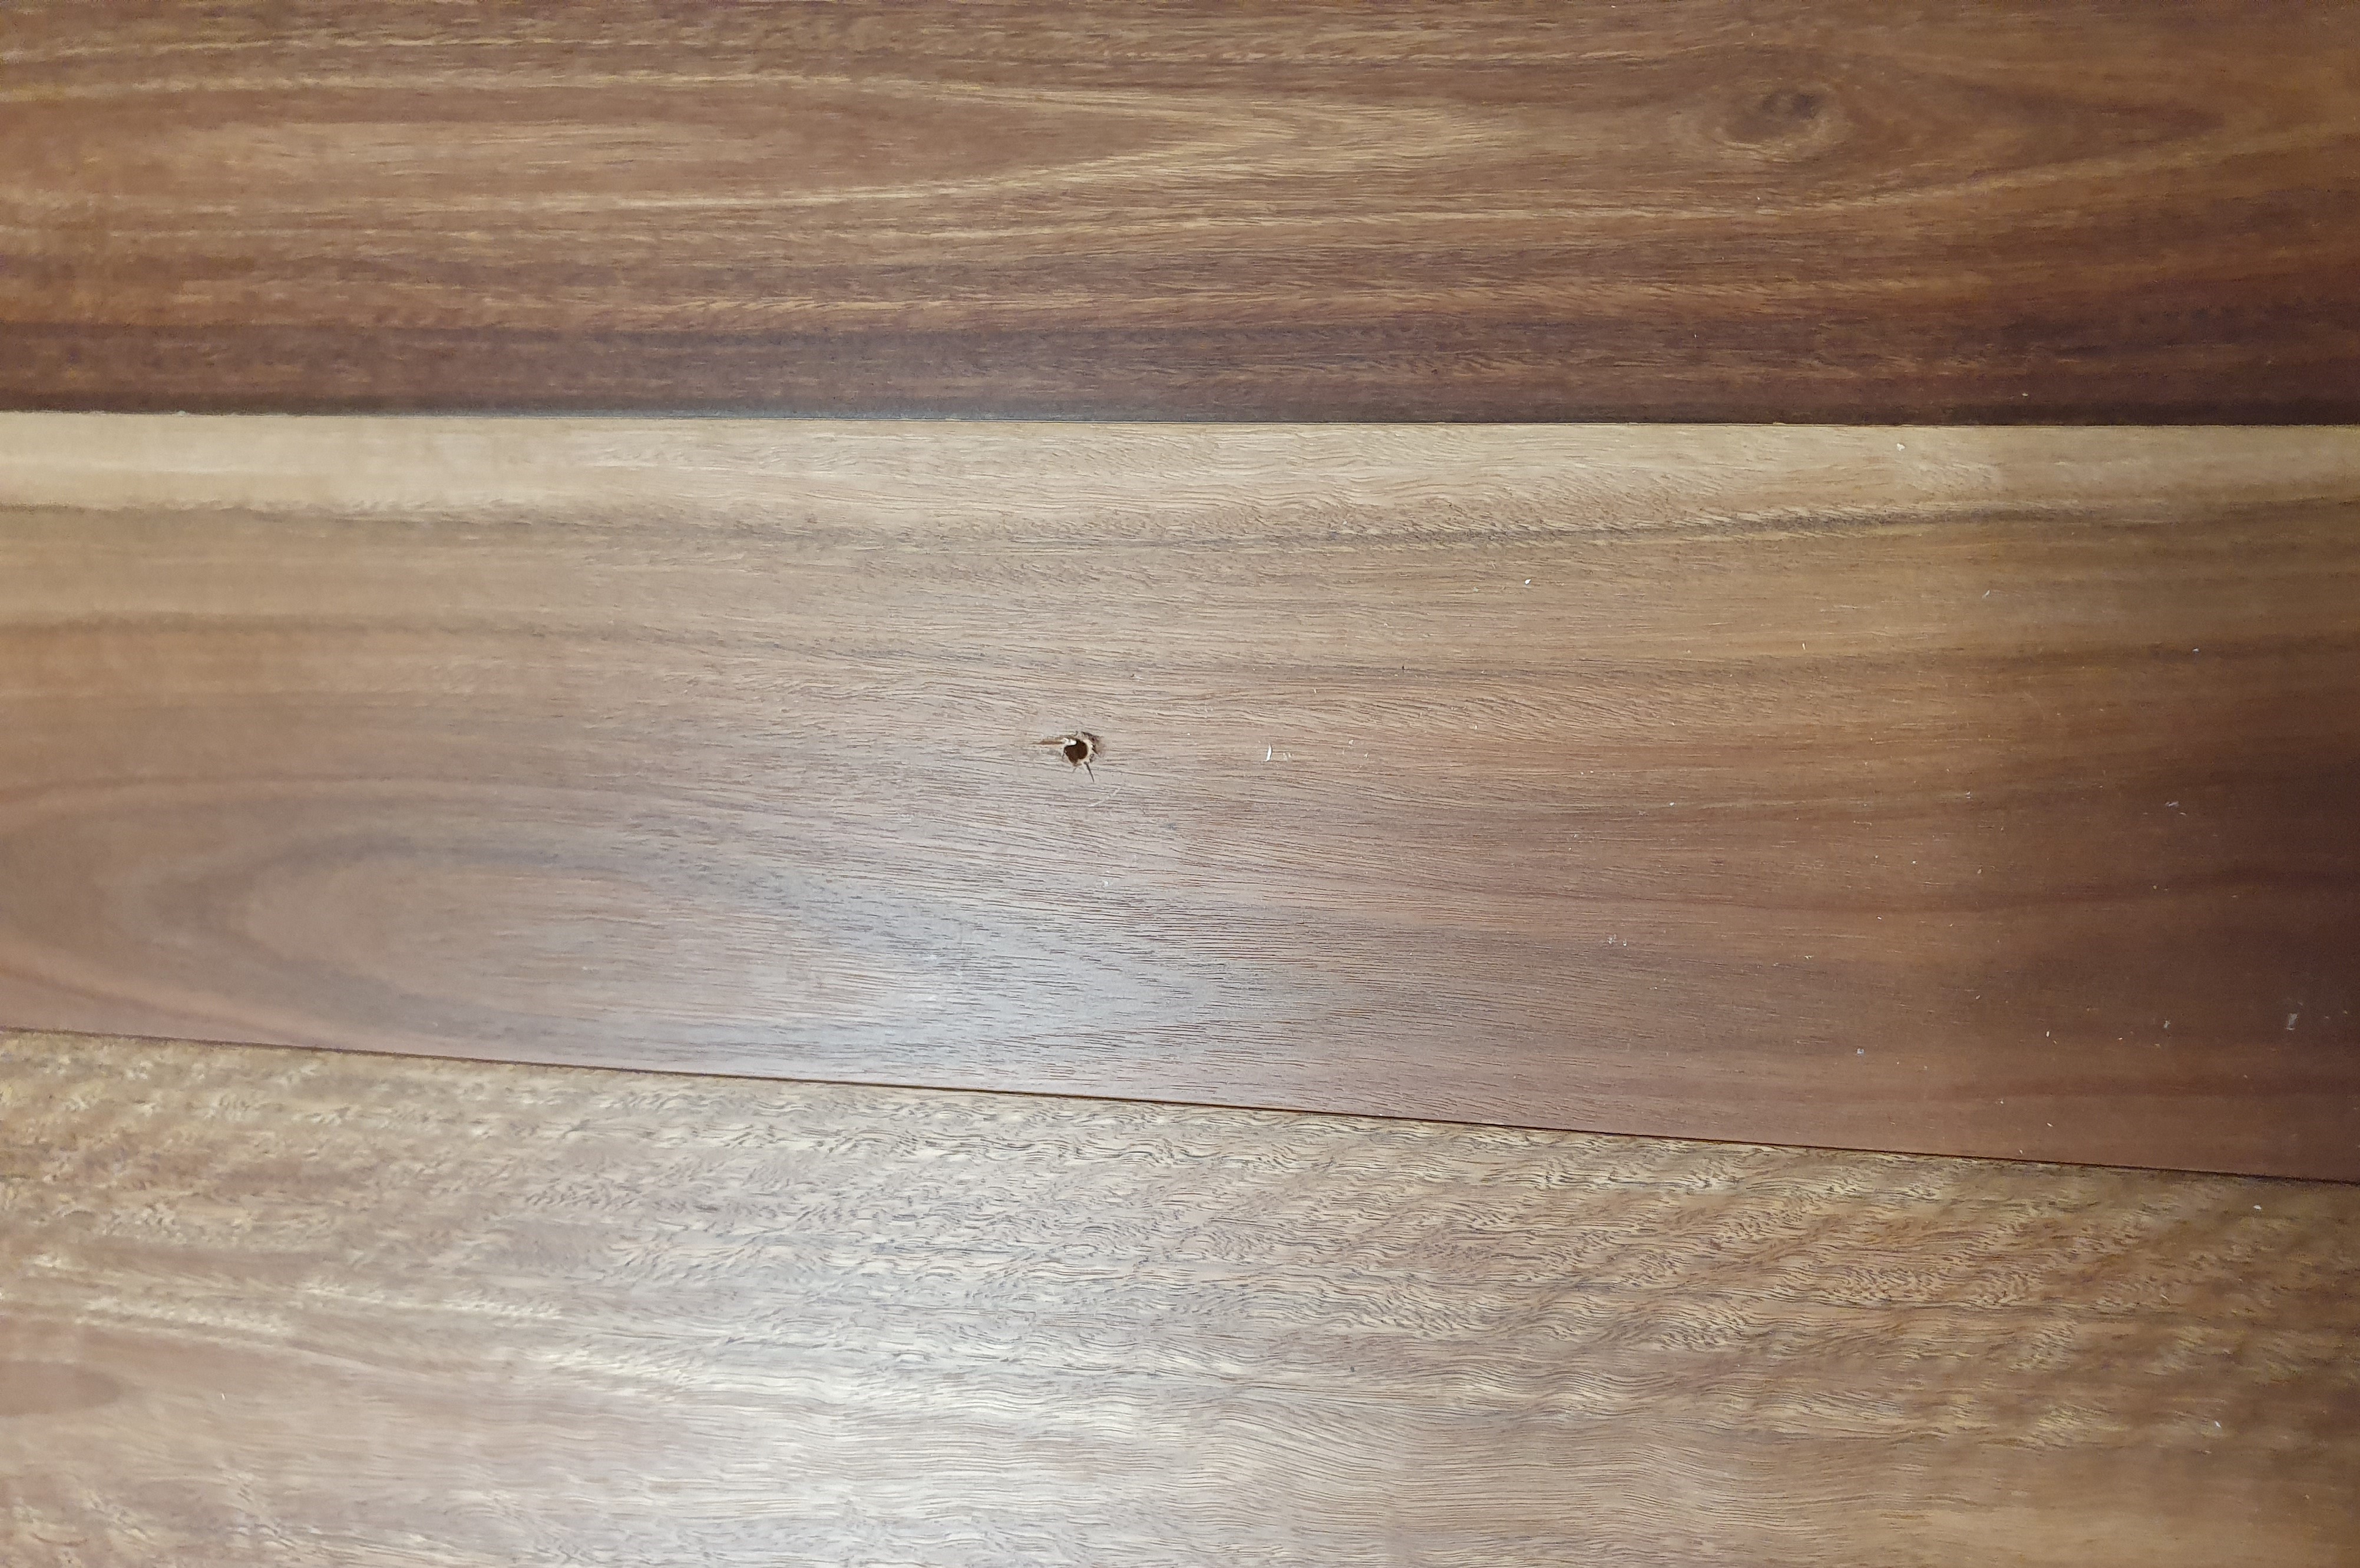
With a gouge in vinyl flooring, your options are as follows:
- Live with it and disguise it with any means possible
- Replace the floorboard
Let’s just assume most people will opt for replacement.
If you were lucky enough to have used pressure-sensitive adhesive, place a butter knife between the planks, lift the old plank out, and replace it with a new one straight away, as the old adhesive is still ready to go.
Unfortunately, the process is far more tricky with hard-set adhesive, and you have no choice but to chisel the plank off the floor using a paint scraper or chisel. Once all the old adhesive is removed from the affected plank area, you can glue the new one in its place. Although this sounds simple in theory, it is not, and we feel it is a process best left to the professionals to save you from potential heartache.
If you do go down the DIY path with the chisel, we strongly urge you to stay away from the sides and the end of the plank to begin with to prevent damage to neighbouring planks. Instead, start somewhere in the middle to get a feel for how the plank and adhesive will respond to the chiselling, leaving some room for practice and error. Once the bulk of the plank is removed, complete the edges as carefully as possible. In risky spots, be inclined to use the chisel by hand rather than a hammer. And, of course, make sure the chisel or paint scraper is sharp.
Keep in mind that you must be careful. You don’t have to take it to the extent of being an archeologist with a feather duster and toothbrush; we aren’t digging up dinosaur bones.

Expert Insights From Clem Sturgess
20+ years' experience in hard flooring
Oil lubricants work particularly well on timber. I have often applied a little oil to the scratched timber floor, and onlookers can't believe how effective in making the scratch visually disappear. Some timber products need to be oiled from time to time.
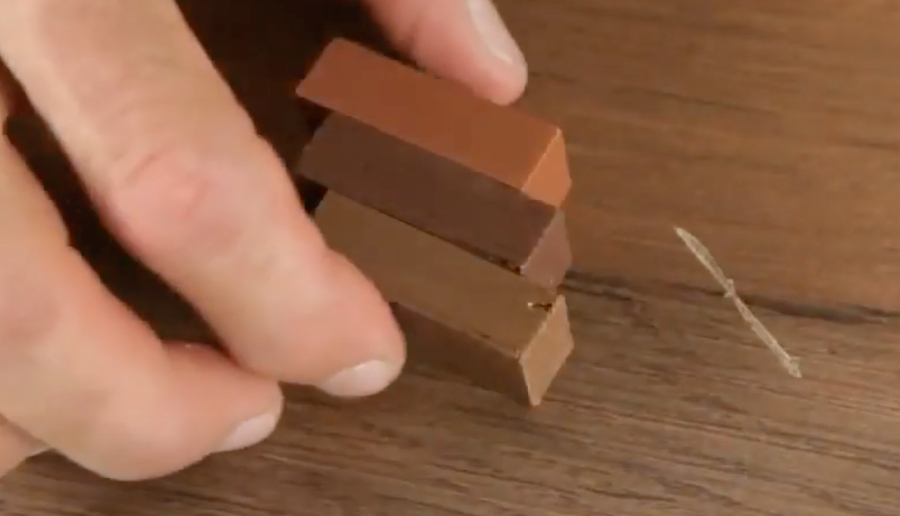
My first experience with a wax kit was with a customer who had a large chip in micro veneer timber roughly an inch long by 4mm wide. Armed with a wax kit and a credit card for smoothing, I melted two different coloured waxes together, applied them to the area and used the credit card to work it into shape. The end result was so good the customer could barely tell the difference between the wax and the veneer top.
Side Note: Vinyl flooring is softer to touch and move compared to other hard flooring counterparts meaning the use of fillers like putty and wax for gouges will be ineffective, further increasing the likelihood of replacement.
Hybrid Flooring
Because hybrid flooring has the same surface wear layer as vinyl, you are left with some of the same limitations in terms of fixing. WD-40 and like will serve you well with minor scratches, and Putties and fillers again won’t be suitable.
A skilled tradesperson could potentially try coloured silicone with gouges, but this would be a tricky outcome to achieve at a satisfactory level.
Hybrid is always floated, so with replacing hybrid flooring; you have two options:
1. Unclick & Reinstall
Unclick the floor to the point where the damaged board is, replace the damaged board and reinstall the floor.
2. Replace a Single Board
Some locking systems are hard to disassemble. You can cut out and replace a single board in this situation. This is a lot of work and most likely requires a professional.
Because the plank isn’t stuck to the floor, the process is different to that of Vinyl Plank Flooring:
- Start in the centre of the board and break the board in the centre.
- Carefully leave the board out so you can unclick the joins and remove the board.
- The replacement board will need tongue from the male side of the join cut out.
- Check that the board fits in place, and trim the joins where required if it does not.
- Glue the new board into place with adhesive around the joint.
- Put a small weight on the board while the adhesive sets.
This method is tricky, but you can avoid having to pull up the rest of the floor where the board is in the middle of a room.

Expert Insights From Dean Billett
28+ Years of flooring industry experience
From a floor layer point of view, when it comes to Repairing & replacing, hybrid and engineered flooring can be more challenging to deal with. In many cases, you may have to unclick the whole floor to replace a single board, and it could be a massive job if the board/s is in the middle of the room.
In some cases, single boards can be extracted using a particular cutting saw, but the result could be better becuase the new board has to be stuck down differently from the existing boards.
Compared to timber, when you unclip hybrid boards, there is a higher chance of snapping the join.
With vinyl boards that are stuck down, you may only have to unstick and remove a single plank.
Laminate Flooring
We have some good news! You will suffer far less in terms of scratches in comparison to hybrid or Vinyl, and you also have more repair options. Again for blemishes, the tried and tested WD-40 method will serve you well.
However, with gouges, you have more repair options with laminate:
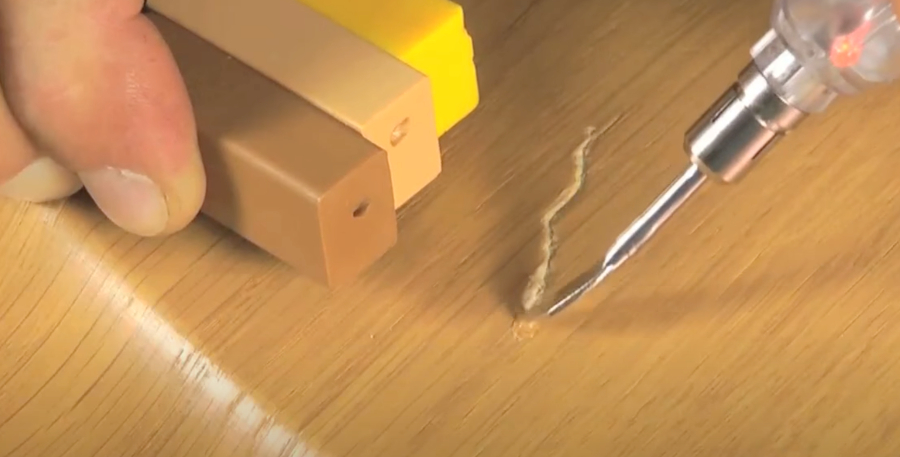
- Suppliers such as Premium Floors floors sell coloured wax kits to repair gouges and match the colour of your flooring. Bunnings also stock coloured wax kits with several different colours. Wax colours can also be mixed. You melt the wax, pour it into the gouge, and use a credit card-like piece of hard plastic to shape it as the wax is setting. The unskilled person can do this very easily but still practice on something else first.
- Cut a board out the same as you do with hybrid boards.
- Unclip the flooring until you get to the board you want to replace before reinstalling.
Timber Flooring
Again the WD-40 method will serve you well for scratches. The wax approach listed above is also a great thing for gouges. You will treat a floated timber floor (engineered) the same way you treat laminate flooring in terms of repair and replacement.
In the instance the floor is direct stuck, pulling out a board is similar to vinyl. We recommend avoiding pulling out a direct stuck timber board at all costs, and treating it with a wax kit will be far less painful in every circumstance.
| Scratches | Gouges | Water Damage | Sun damage | |
| Timber | ** | ** | ** | ***** |
| Vinyl | *** | *** | ***** | ** |
| Hybrid | *** | *** | ***** | *** |
| Laminate | ***** | ***** | * | *** |
| Water resistant laminate | ***** | ***** | **** | *** |
| Carpet Tiles | ***** | **** | *** | ** |
| Bamboo | ** | **** | ** | ***** |
Or You Could Sand and Recoat the Whole Floor
The other option for scratches and small gouges is to sand and recoat your timber floor. Your floor may be gouged, but the top coating as a whole could look a bit worse for wear. The floor can be cut back, and the gouges can be filled with a proper timber filler (similar to how you putty a nail hole) and then refinished over the top.
Side note: There is no way to effectively pull out a single hardwood plank if it has been secret nailed without a very high level of skill, making the wax kits & sanding the next most viable options.
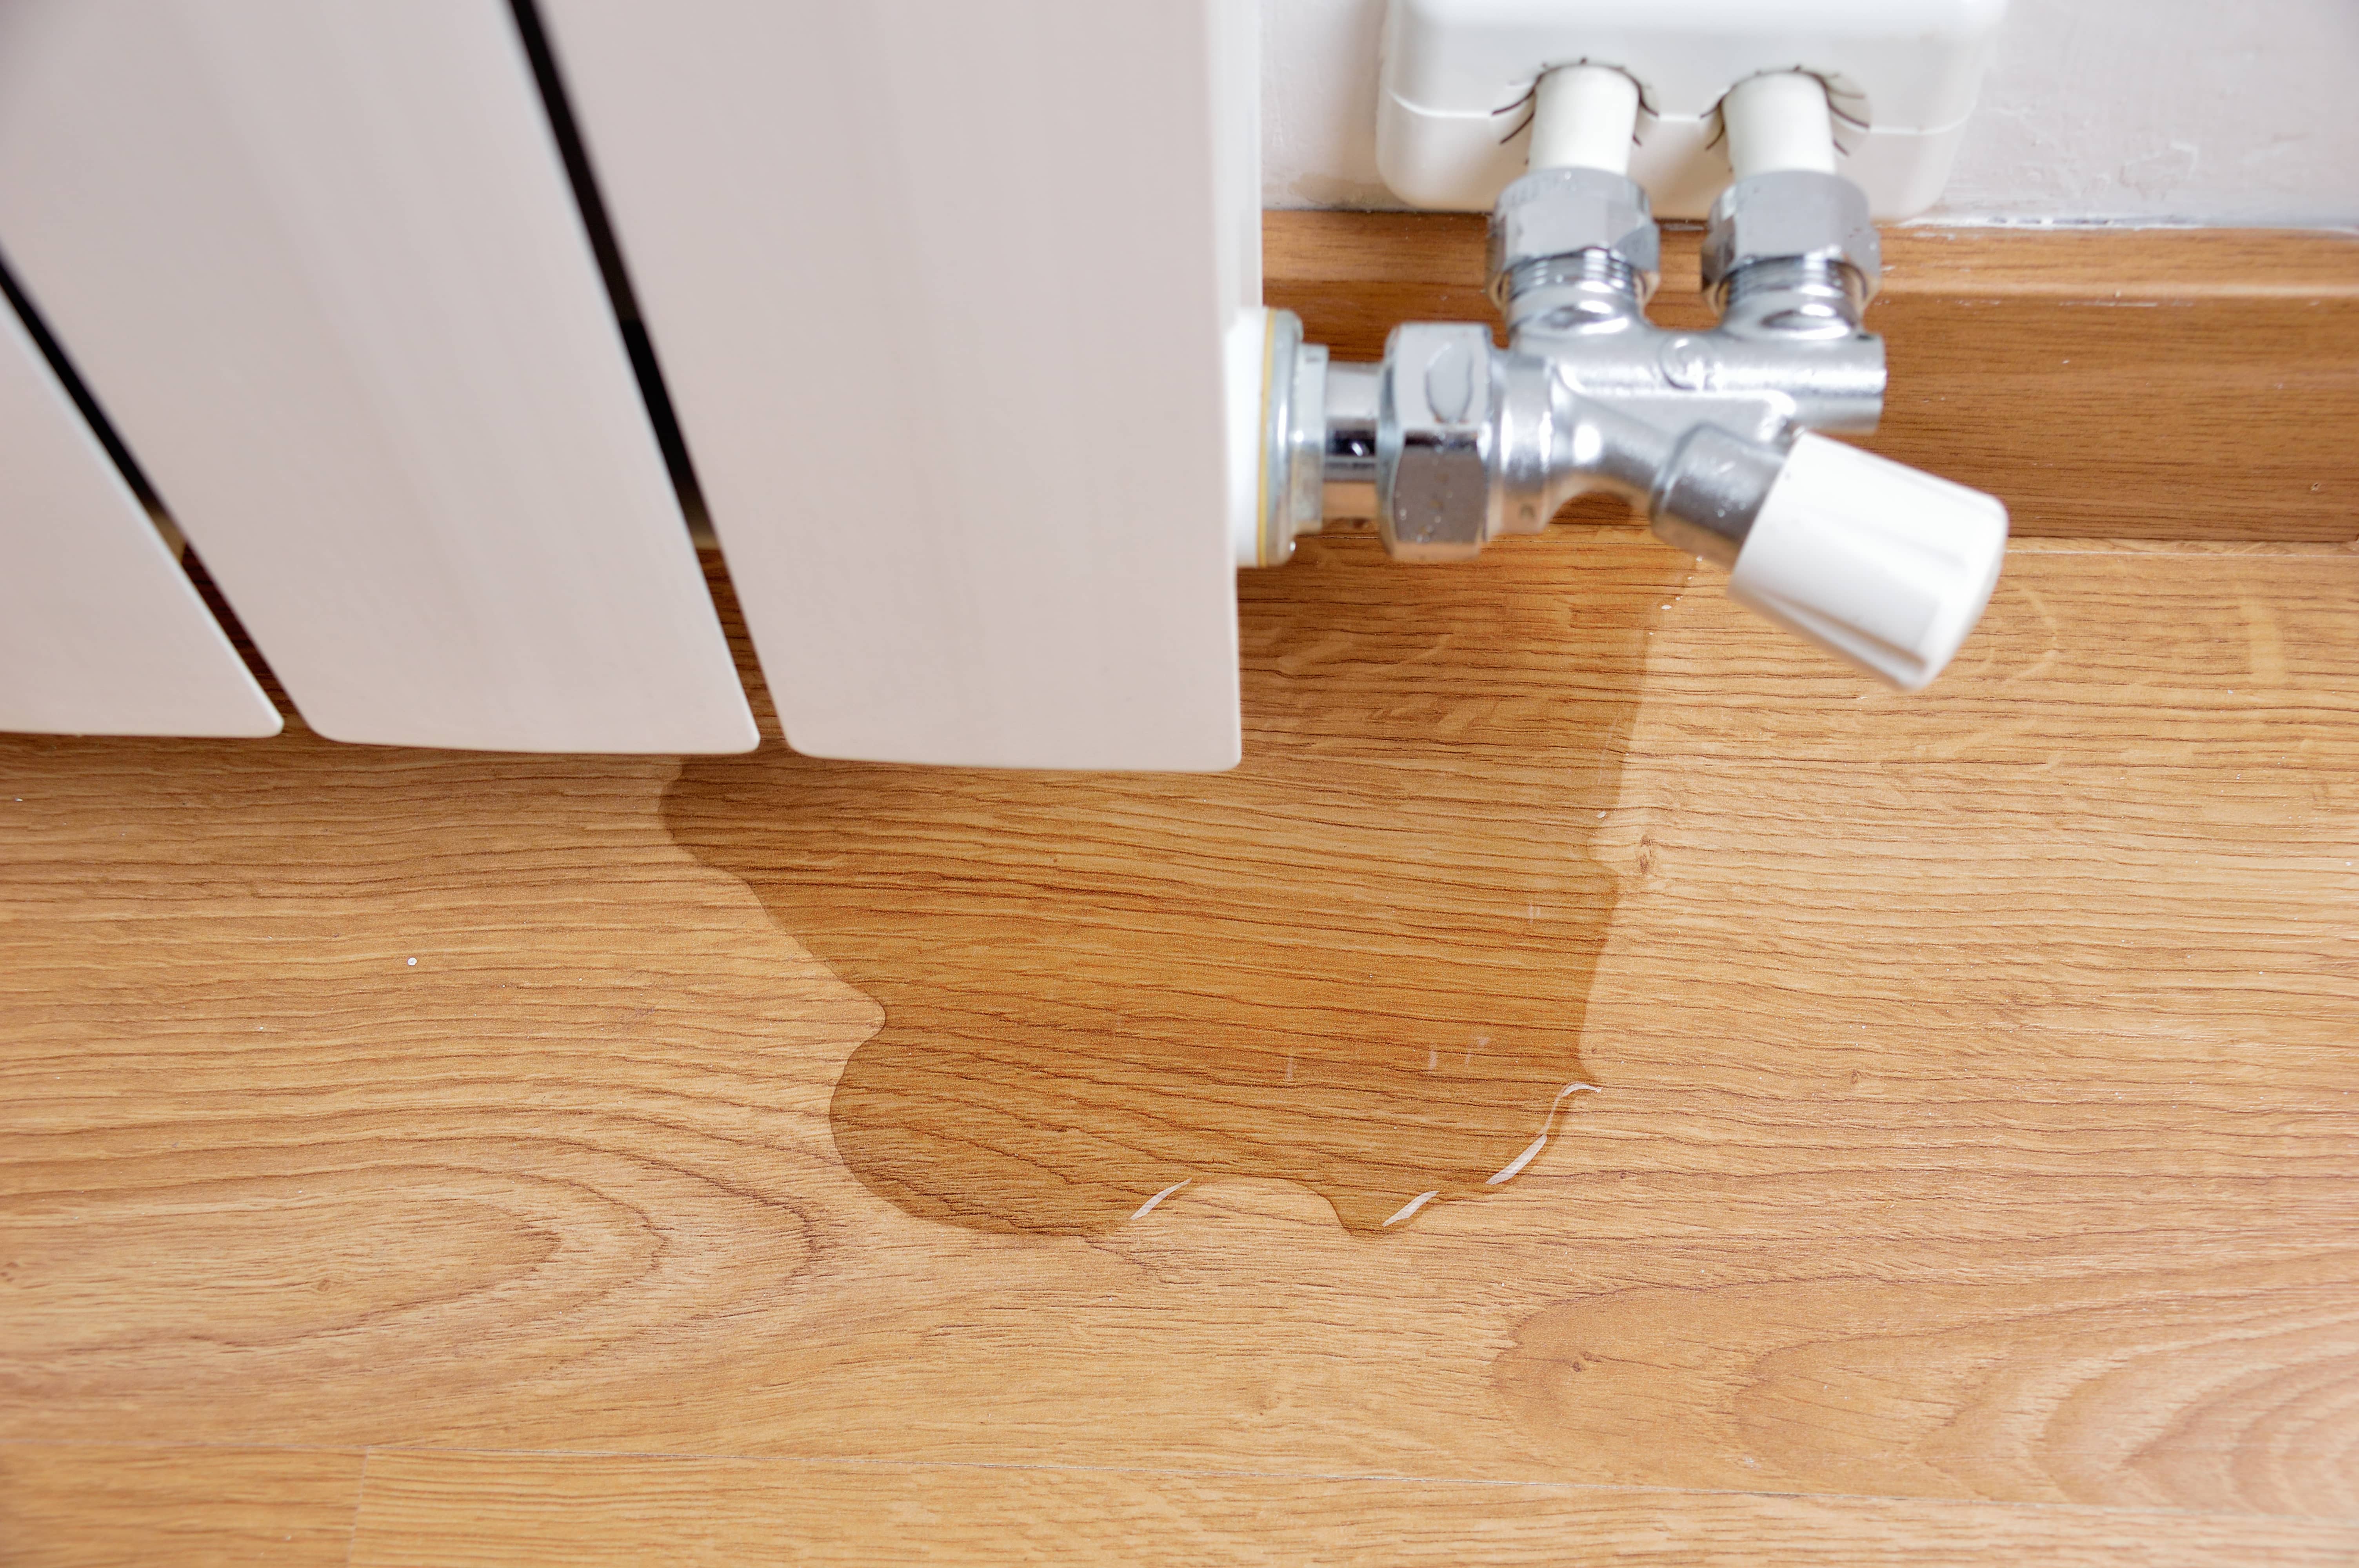
Water Damaged Floor Repair/Replacement
The elephant in the room.
Both timber and laminate flooring are particularly susceptible to water damage. If the floor is floated and the water gets underneath it, the damage doesn’t just occur in the visible area. The damage will be far more widespread and not automatically unless you see a new undamaged board beside it. All of the joins in a much wider spread area have likely been damaged, and the locking systems will likely be compromised.
Often, insurance companies concerning water damage will quote for total replacement, even if the area is seemingly isolated. Water vapour travels underneath the floor and affects the floor much further, and they do not want to be processing two claims.
In small water damage cases such as pet urine, although the damage is more corrosive and severe in the isolated area, it can often be contained within a small area of a few boards. This can be achieved by means previously spoken about above regarding unclipping the flooring if it’s floated and resanding and recoating if it’s directly stuck. And as a last resort cutting the board out if it needs attention immediately.
Regardless of what you do, wait until the floor is dry to assess the damage with a timber floor properly.
Side note: A tap left on can flow forever where an animal urinating cant…..unless the animal has a very special talent! We cover more pet-friendly flooring options in this post.
Expert Insights From Clem Sturgess
20+ years' experience in hard flooring
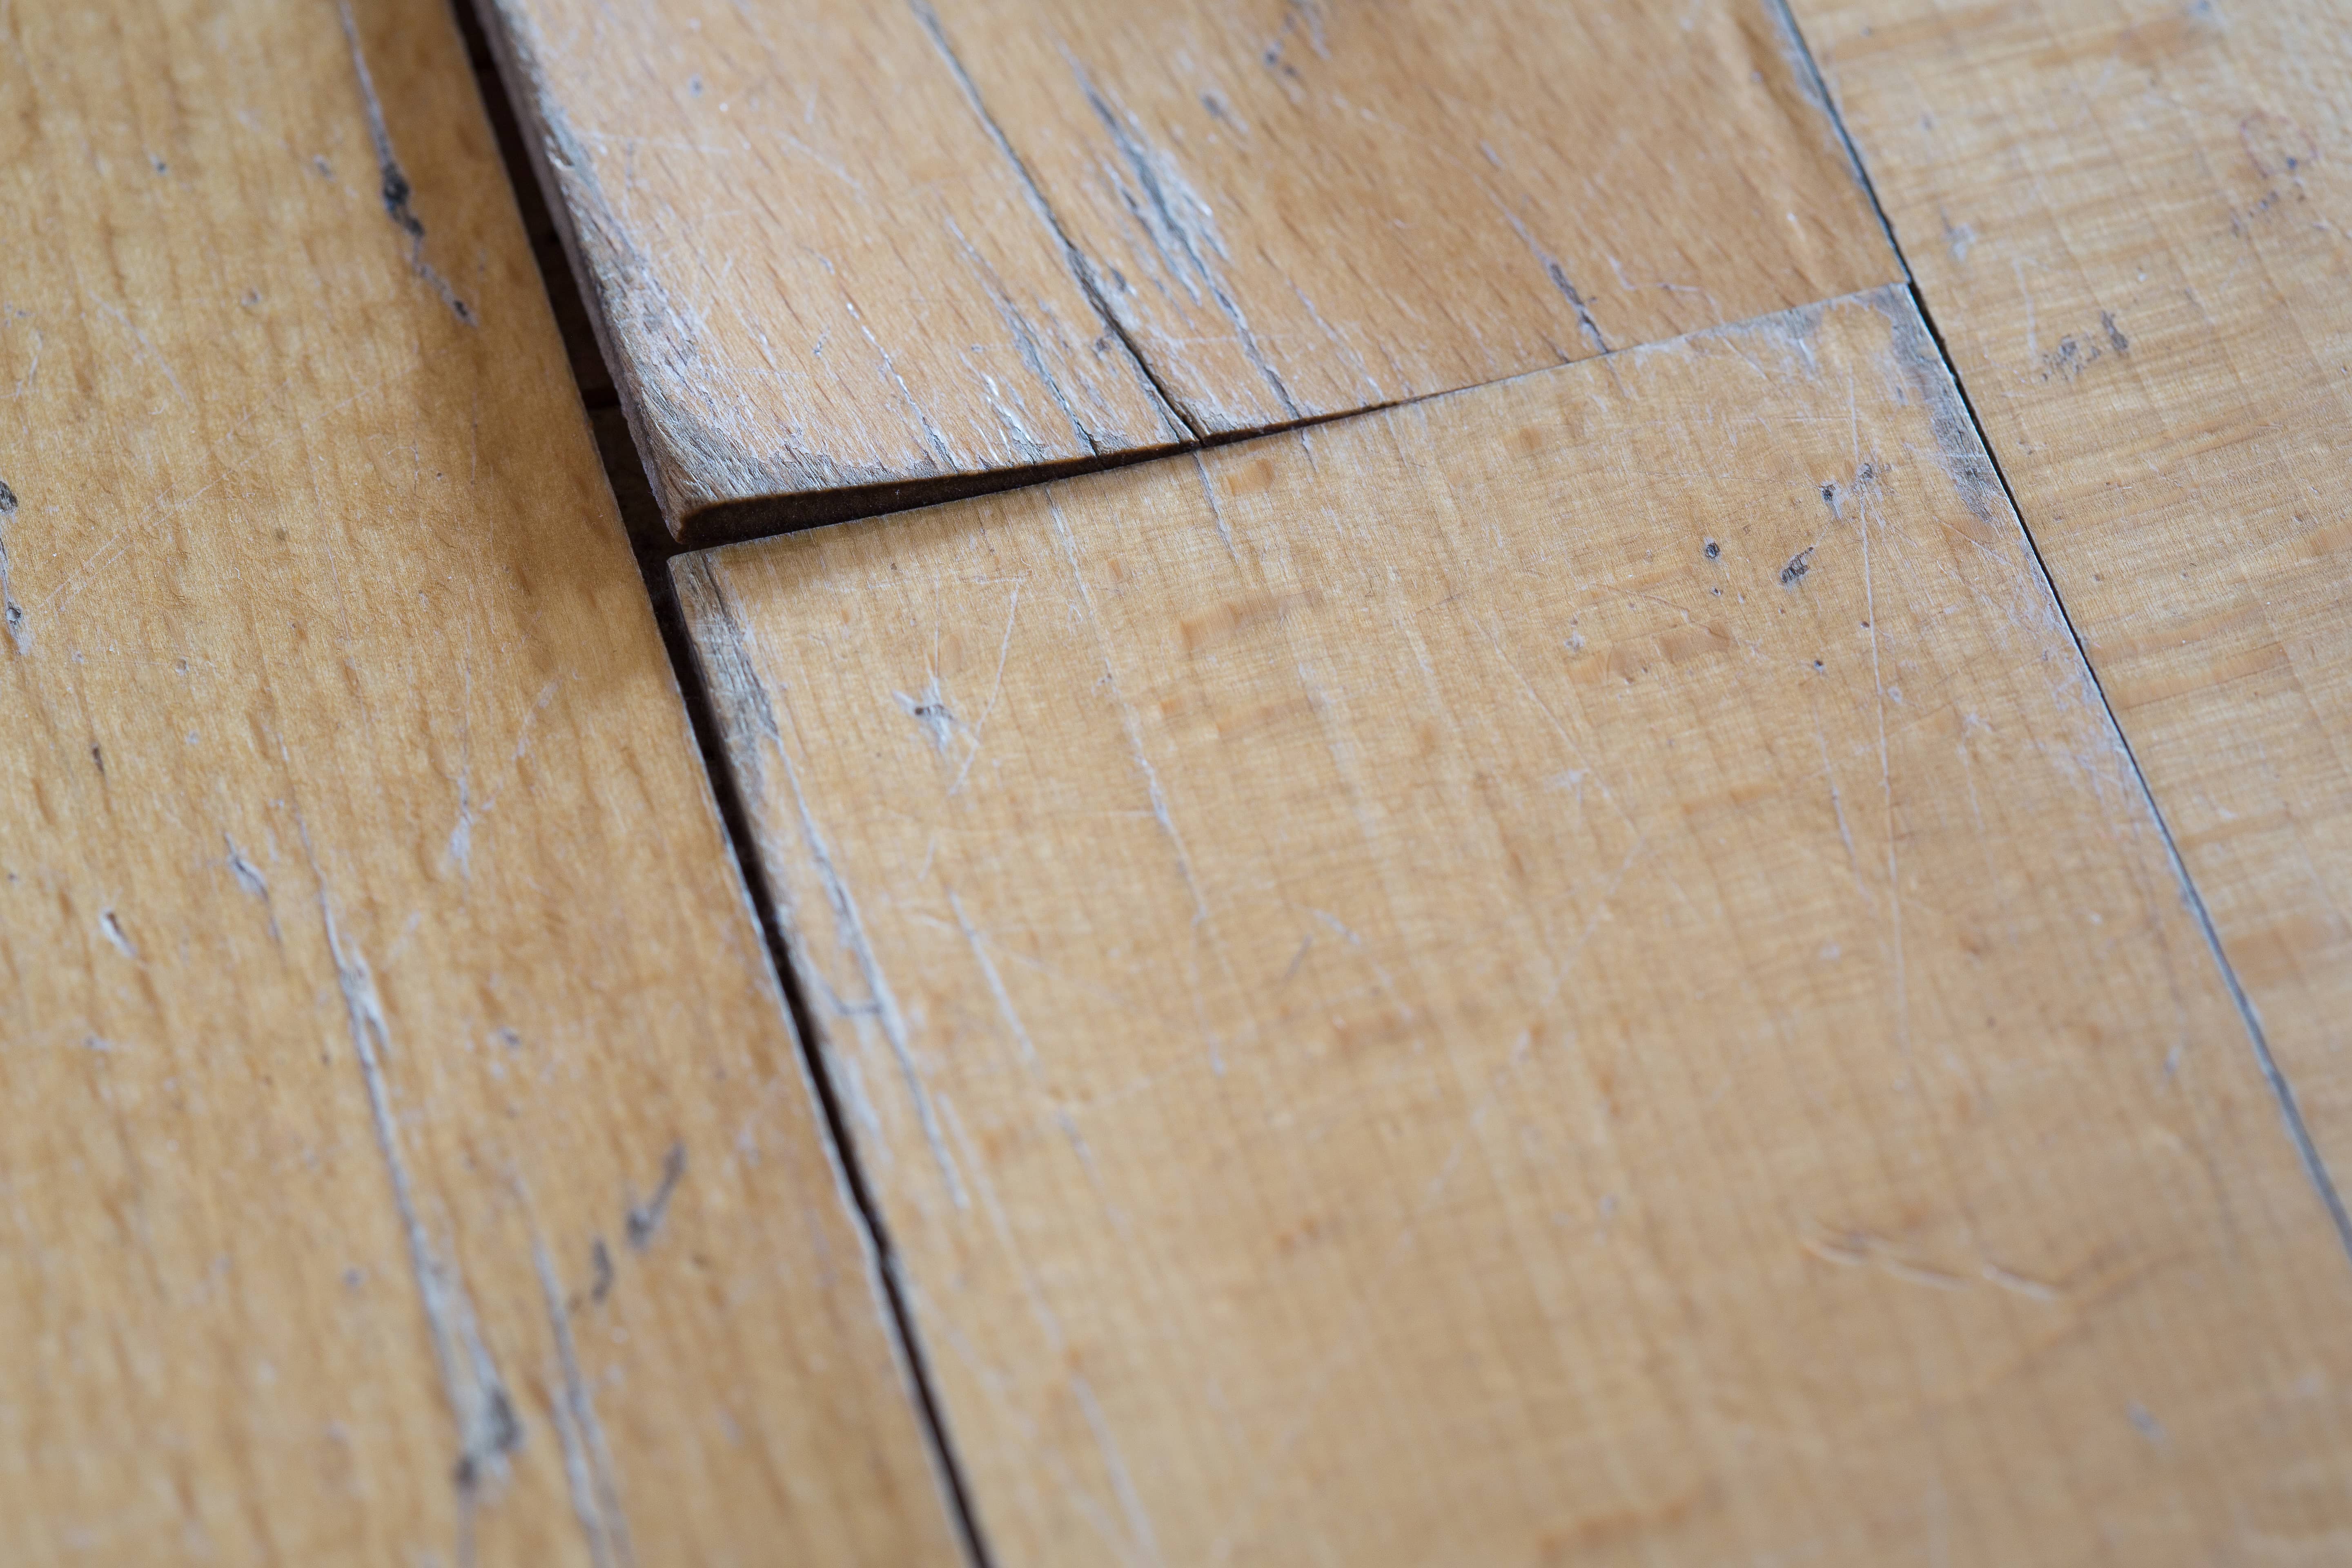
At an old flooring company I worked for, we had a particularly harsh summer in terms of weather conditions. The rain came down into our showroom via a sloped driveway and went all over the floor. The timber cupped (learn more about cupping in this post) as the water entered around the edges, which caused them to swell around the edges, which became higher than the middle of the plank.
We had a professional come and sand/recoat the floor; however, when the floor eventually dried out, the floor went down to its original size, and we were left with crowing in the middle of the planks because the sides had been sanded away. The moral of this story is to wait until the timber dries out properly before deciding what to do with it. This may take months.
We (Sort of) Forgot to Mention Bamboo
Typically bamboo follows the same path as timber in repairing scratches and gouges, but it generally is harder to sand and recoats as it is almost always floated. You can find out why sanding and recoating floated floors can be bad here.
Bamboo with wax repair kits comes up incredibly well.
While we are here, let’s cover carpet tiles.
Pressure-sensitive adhesive is generally used for carpet tiles. If you damage a carpet tile, lift it from the adhesive and put a new one in its place. Put something over the top to weigh it down for a while to allow the adhesive time to re-stick to the carpet tile.
Frequently Asked Questions
Here's my rule of thumb after 25+ years in flooring: start with the simplest solution first. For most scratches, regardless of flooring type, try the WD-40 method first. Spray some on a rag (never directly on the floor) and give it a good buff. You'd be amazed how many "catastrophic" scratches disappear with this simple trick.
If that doesn't work, then consider your flooring type. With laminate or timber, wax repair kits can work wonders. I've seen inch-long chips in timber veneer become practically invisible. But with vinyl or hybrid, deep scratches usually mean replacement since fillers just won't hold up in these softer materials.
This is one of the biggest mistakes I see people make. When timber gets wet, you need to play the long game. I remember a showroom floor we had that got soaked from rain. We rushed to sand it while it was still cupped (raised at the edges), and when it finally dried months later, we had crowning (raised in the middle) because we'd sanded too soon.
Here's my advice: let the floor dry completely, which can take months, not days. Then assess the damage. Sometimes what looks like a disaster while wet will settle back down once fully dry. If you're impatient and replace boards while there's still moisture present, you might end up with more problems than you started with.
Replacing a single hybrid board is tricky business, even for professionals. If your floor has an easy-to-disassemble click system, you might be able to unclick to the damaged board and replace it. But if you're dealing with a tough locking system, you'll need to cut out the damaged board, which is like performing surgery on your floor.
You'll need to cut away the center, remove the edges carefully, trim the tongue off the replacement board, and glue it in place. While it's possible to DIY, I usually recommend getting a pro for this job. I've seen too many DIY attempts end up damaging the surrounding boards. Remember, hybrid floors are particularly prone to join damage during board removal, much more so than timber or vinyl.