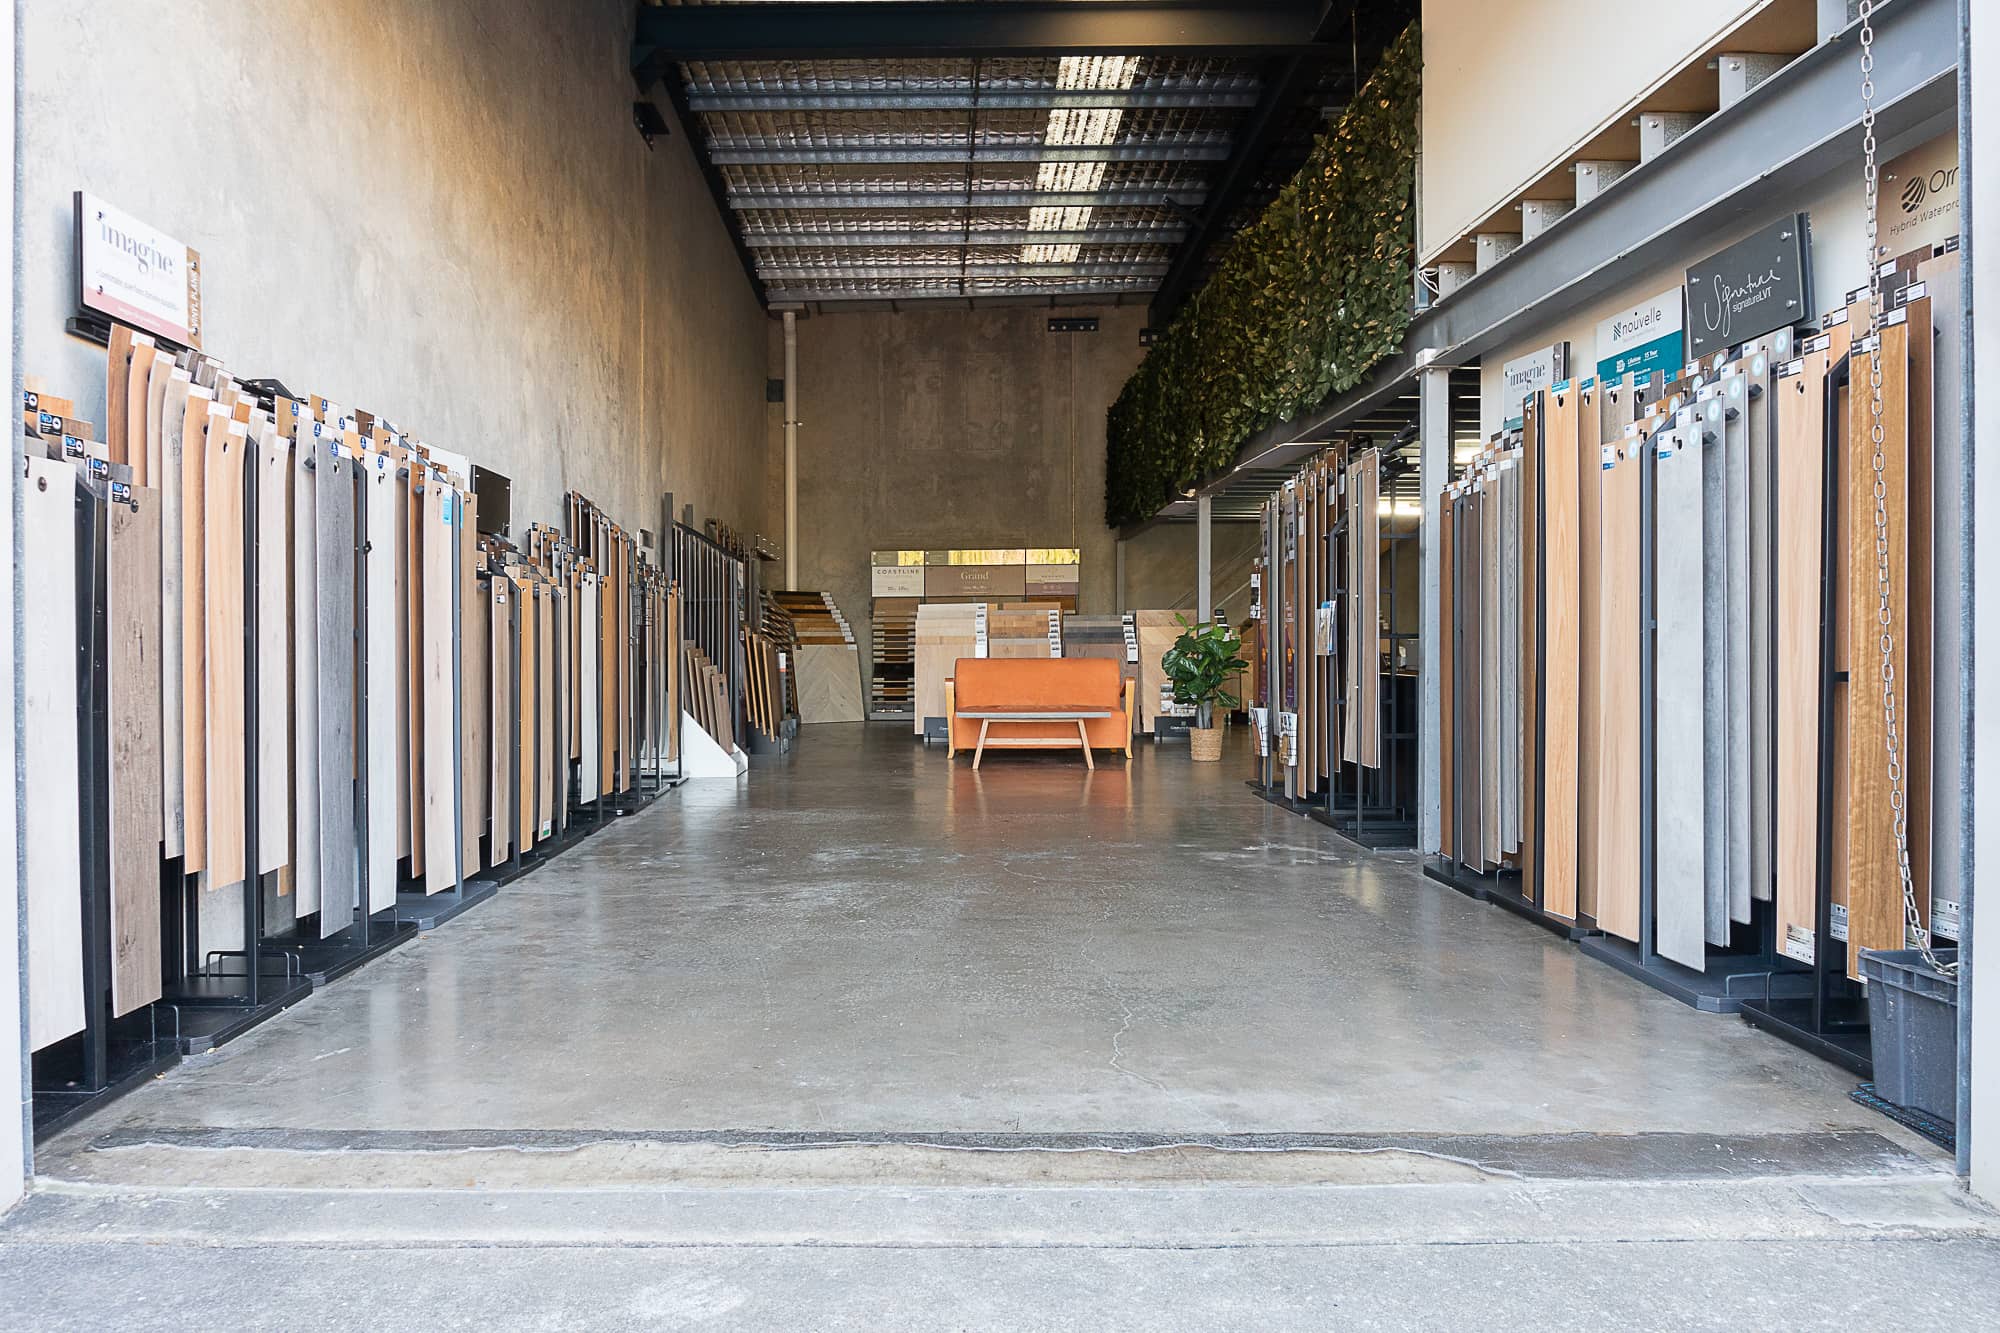
For many reasons, purchasing and laying hybrid flooring has become a popular choice for consumers. As the name implies, hybrid flooring is a fusion of technologies that takes design elements from vinyl plank and laminate Flooring. Hybrid flooring combines the results of laminate and vinyl, plus eliminating downsides.
But how do you prepare for and install hybrid flooring? This blog shows you exactly how to prepare for and install hybrid flooring. Please read to the end to ensure you pick the suitable hybrid floor installation options for your home space and skill level.
Overview:
Flooring Tools & Material Inspection
Before DIY hybrid flooring installation, it is essential to look over your floorboards and ensure they are free of imperfections or defects. Put any boards to the side with damaged joins or blemishes. These boards get used against walls or where cuts are required while laying hybrid flooring.
Some helpful tools for DIY hybrid flooring installation include:
- Chalk line
- Pull bar or pry bar
- Tape measure
- Tapping block (a piece of trimmed flooring)
- Pencil
- Metal straightedge
- Stanley knife with sharp blades
- Jigsaw
- 3M scotch-blue 2080 tape

Scotia and Skirting Removal & Re-installation
Assuming you have existing skirting, there are two options to choose from:
- Remove skirting and replace it with existing or new skirting after the hybrid flooring installation.
- Keep skirting in place and use scotia for finishing the edges after the hybrid flooring installed.
When deciding, it’s crucial to weigh the time investment against the lasting aesthetic of your hybrid floor installation. Scotia may save time, but it doesn’t blend seamlessly (even with matching colours) with the skirting.
On the other hand, if you opt for scotia, I recommend matching it to the colour of your skirting rather than the flooring. This approach creates a more cohesive look, making the scotia appear as an extension of the skirting rather than an additional element to laying new hybrid flooring.

Expert Insights From Raquel Billett
Interior Décor Expert
Water-based paint is commonly used on walls. However, applying visually identical oil-based paint to the skirting is more practical. Skirting gets kicked and marked, and oil-based paints offer superior durability.
Taking Your Skirting Off
To safely and effectively remove your skirting so you can remove it, follow this list:
- Plan how you will take your skirting off and work around the house in one direction.
- Number each piece of skirting as you go so you know where it fits back in place.
- Before starting, run a knife along where the skirting meets the wall. The paint also sticks the skirting to the wall, and if you don’t do this, the paint may tear away from the wall, creating an unsightly mess along the skirting line. We don’t want unsightly marks taking away from freshly installed hybrid flooring.
- Using a tool similar to a butter knife, stick one down the back of the skirting and gently pry it open, giving it a tap with a hammer if necessary.
- Once a space has been created between the skirting and the wall, use another butter knife to open it further. Work your way up each piece of skirting bit by bit. Do not try to pull the whole piece out in one go. By working your way up the skirting, it will come out without damaging anything, which is essential for reuse.
- The last thing you need is skirting snapping. Once removed, keep the skirting numbered and out of the way.

Expert Insights From Dean Billett
28+ Years of flooring industry experience
If you are an experienced handyman, use a multitool to undercut a gyprock wall. This will give your new hybrid flooring installation more clearance and space than the skirting allows. To get an even cut, use a piece of hybrid flooring for the multitool to sit on as you run it around the edge.
Reinstalling Scotia and Skirting
*This step is completed after the installation of the new hybrid flooring.
You have three options for installing scotia and skirting:
- If you choose to leave your skirting on and install scotia.
- If you took your skirting off and plan to reuse it in its original place.
- Installing new skirting.
Skirting and scotia can be nailed or glued. If you are reattaching existing scotia, reattach each piece in the same order they were removed. As you will have sequentially numbered them, this will be easy.
If you are using Scotia or new Skirting, you must cut these as required and attach them as you go.
It is easier to paint scotia and skirting before attaching them. When you are finished, use a small amount of gap filler in any nail holes and touch these up with paint.
Subfloor & General Preparation
Ensure your subfloor is dry, free of imperfections, and level. An uneven subfloor will lead to premature damage and an unstable feel in your newly installed hybrid flooring. If it is concrete, it is also important to ensure it has had time to cure completely. This takes about 60 days from when the concrete is poured. Although strong, hybrid flooring is more prone to snapping in the joins and in the middle compared to laminate flooring.
- We recommend using builders’ plastic with floating hybrid floors because a small amount of moisture can leak through as the years progress.
- Be sure to confirm that your subfloor and site conditions are compliant with all installation requirements.
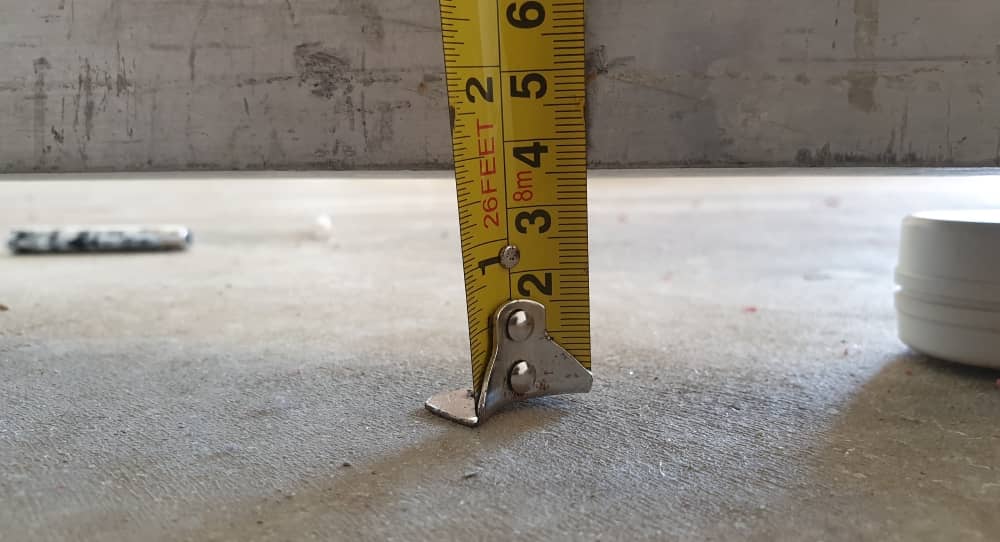
- The subfloor must be level within the tolerance the supplier has outlined in their installation guide. So, as always, follow supplier guidelines carefully. For example, if the guidelines state that the flooring needs to be level to within 3mm over two meters, make yourself a spacer 3mm thick and have a straight edge over 2m long on hand.
- Move the straight edge and spacer over the flooring, looking for places where the straight edge might rock. Rocking means you have hit a high point, and you must mark these points with a pencil or pen and circle the area.
- Suspend your straight edge from highpoint to highpoint, and then test this by trying to fit your spacer underneath it. If the spacer fits, then that space is NOT within tolerance.
When the Subfloor Floor is Not Level
With a subfloor that is not within tolerance, one of two things needs to happen, and you must work out what is more accessible:
- Use a self-levelling compound to level the floor—this might be the case if you only have a few dips. Follow the instructions, fill in those spaces, and smooth them out.
- If you only have a few high points, you may need to hire a concrete grinder to grind the high points down within marked lines.
Subfloor tolerance refers to the maximum allowable difference between the highest and lowest point within a radius outlined by the supplier. Therefore, if this is listed as ‘no greater than 3mm over 2 metres’, then 3mm is the maximum amount allowed over any 2 metre area.
Caution With Subfloor Preparation
Whether you attempt your subfloor preparation or hire an expert depends on your ability level.
However, know this:
- In the past, I have witnessed skilled amateurs with no trade background do a fantastic job where their experience or innate ability allows them to take on tasks like this and do them well.
- On the other hand, I have also met professional flooring installers who I would never recommend to people becuase of the unsatisfactory work I have seen them perform.
Remember, I have spent many years making warranty claims. I believe floor preparation requires a high skill level and for most average Joes like myself. I recommend enlisting the help of a professional.
For more information regarding subfloor preparation, we also recommend this blog: Whysubfloor preparation is important for long-lasting, beautiful floors.
Chipboard Subfloors
If you are laying hybrid over a chipboard subfloor, the most common issue you are likely to encounter is peaking along the joins where the chipboard sheets meet. A belt sander is great for levelling. Use fine sandpaper rather than rough, as you don’t want too much chipboard removed. 180 – 200 grit sandpaper would be perfect.
Measuring & Cutting Away Door Jams
As part of subfloor prep, you may need to cut away part of your door jams to allow the hybrid flooring to sit flush underneath it.
- Work out exactly where your door will close.
- Use the multitool and your off-cutt piece of hybrid flooring again. Place the multitool on top of your piece of hybrid flooring and run the multitool around the door jam for a clean cut, and use a chisel to remove the extra wood.
- This will provide your hybrid flooring with a lovely space to slot in underneath and look very clean & properly finished. It is also faster to do it this way.
Using Floated Floors
Hybrid floors are designed to be installed as ” floating floors, “. This allows you to lay flooring without needing adhesives or nails. The floor locking system allows for this. This makes hybrid flooring installation very DIY-friendly and cost-effective compared to other methods. As mentioned above, your subfloor must be perfect, although you can float floorboards on any surface, including timber and tiles.
This is an article in itself and you can find everything you need to know here: how to lay floating floorboards installation guide.

Measure Your Space Considering the Finished Look
Before installing hybrid flooring, measuring the room and visualising the desired result is important. This blog provides four easy methods for measuring floor space.
Planks in the final row should be at least 1/3 of the full plank width for the best visual appeal. The first row may also need to be cut to a smaller size to accommodate.
Working from several packs of product: Move the boards around to create different layouts until you find a pleasant mix of shades and an appealing look.
The walkthrough
This gets completed at multiple stages of the project.
Initially, before laying the flooring, a walkthrough should aim to establish the following:
- In what direction does the flooring need to be laid?
- How will it work & what do you need when you hit difficult areas?
- Measure your board widths so that when you come to difficult areas such as door jams, you can minimise the difficulty you will face by adjusting the width of your first row of flooring.
Understand your locking system and how it will tackle difficult areas. Again, YouTube is valuable as part of this process, as you can watch videos where people use the same locking system that you have to complete their projects.

Expert Insights From Brad
5+ years' experience in hard flooring
Hybrid flooring products have their own built-in underlay, which is convenient and cost-saving.
Hybrid Flooring Installation – How to Lay
- The best way to lay hybrid flooring is to pick a wall to start against and assemble 1 – 2 rows of product just under a board space from the wall.
- Take a scrap-width piece of board and place it against the wall. It will overlap the first row of hybrid boards you have installed.
- Using the overlapped part, trace the wall’s line on the laid hybrid board. This will show you what to cut off the row to fit flush against the wall.
- Dismantle the first row you have just scribed on and mark it so you know where it goes.
- Cut the boards where marked, reassemble them, and slide that section of flooring into a place where you want to close to the wall and have spacers between it and the wall to stop it moving.
- Once the first row is done, build on it with extra rows. Make sure the lines are straight and the locking system is engaged as you go. Note: Ensure the first few rows you have laid are perfectly straight. Small errors become larger later on. Once this process starts, it cannot be rectified without dismantling the floor and correcting the initial issue.
- Use weights and excess boxes of products to weigh down the newly installed hybrid flooring as you go to help keep it in place.
- When laying Hybrid Flooring, pay extra attention to ensure all your joins are correctly clicked together. There cannot be any gaps between the boards, and they have to you must engage the locking system completely. A slight gap between the boards means the locking system isn’t fully engaged. Sometimes, a board needs a little wiggle to engage it correctly. Other times, the board will need a slight tap with a hard object on your tapping block (see below).
Tapping the Boards in
- An offcut from a board makes the ideal tapping block as it is exactly the same shape as the join you need to tap and spreads the force of your hammer or mallet perfectly.
- Never use a hammer or mallet to tap the sides of the boards directly because joins are the weakest part of the board, and you need to spread the load with a tapping block.
- Take a piece of offcut the width of the board and cut it down the centre. One piece will have the male join, and the other will have the female join.
- When you need to side-tap the board, place the piece into the appropriate join and tap the back of it until the locking system is engaged.
- This means the tapping pressure is effectively distributed over a wider area and does not damage the boards.
- Keep your offcuts becuase the homemade tapping block will wear out eventually.
How to Cut Hybrid Flooring
Scoring and snapping is how you will cut most of your hybrid flooring, and this is how you do it:
- Use a sharp blade and keep it sharp throughout the project.
- Use a metal straight edge (not plastic) when scoring/cutting.
- Score slowly with pressure, and never let your fingers overhand the straight edge to prevent accidents.
- The objective is only to score the wear layer of the product, not more.
- Once the wear layer is cut, the rest of the product can snap perfectly.
- If you bend the product and it is not snapping, it means the wear layer hasn’t been cut properly, and your blade might be too blunt.
When You Arrive at the End of a Wall
- Observe the way the board need to be locked in.
- Lie it down the correct way and flip it end to end, making it back to front.
- Move it up against the way, marking the distance between the wall and the board you are joining into.
- Becuase you flipped it end to end and sat around the wrong way when you cut it and flip it back, the join you need is there, and you have scored and snapped at the correct distance.
- Keep your offcuts becuase they will always come in handy later.
Note: A jigsaw is used to navigate difficult cuts, such as door jams, corners, and irregular shapes, and to cut hybrid flooring lengthwise (which can be tricky).
Follow the Instructions – Every hybrid floor has an installation guide. These are usually in or on the product’s boxing and can be downloaded from our website. It is important to read this guide before installation and follow the manufacturer’s requirements at all times. This will ensure the best results for your floor and the continuation of your warranty.
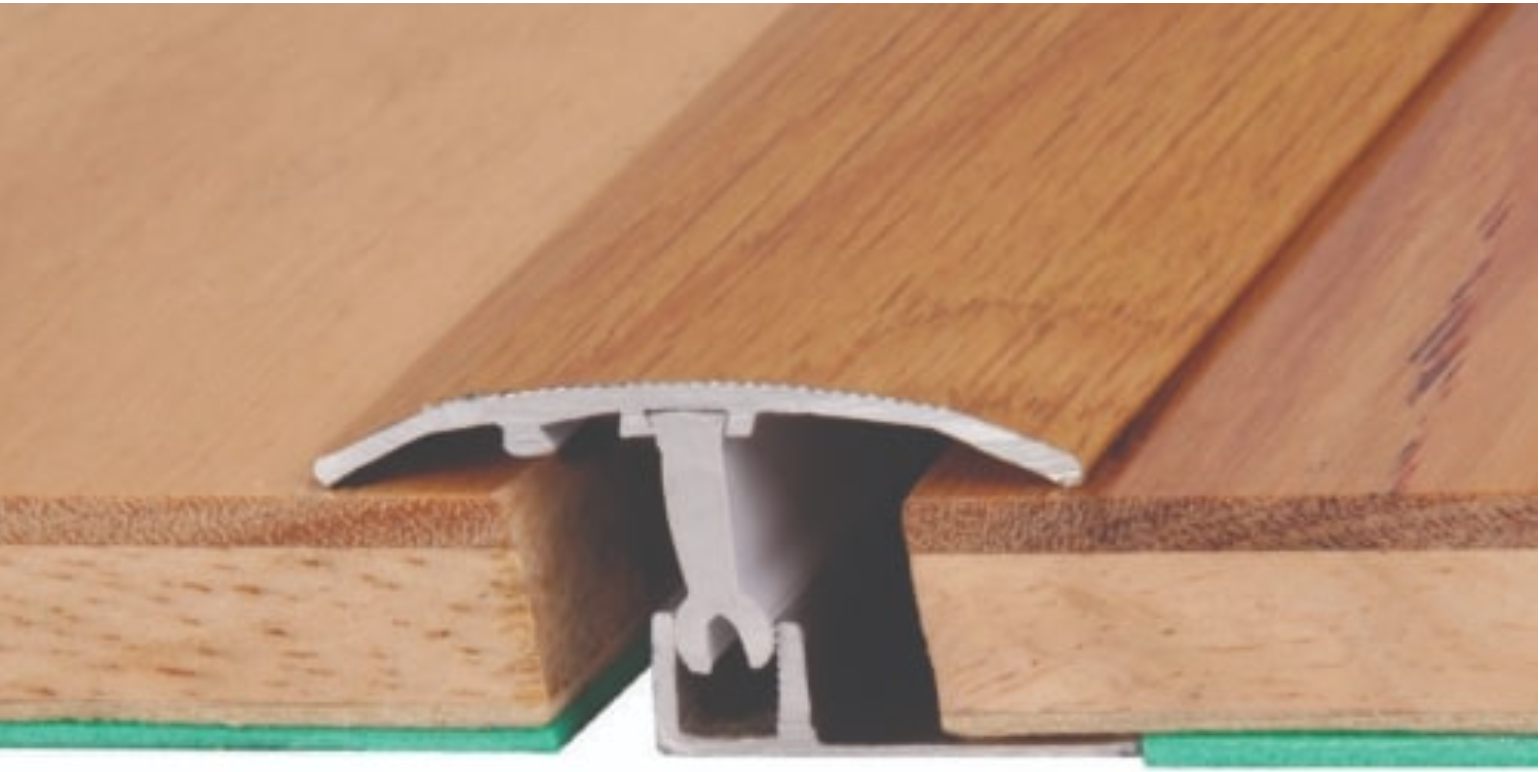
Trims
Trims are an appendix. And there is a lot of information you need to understand.
Your walkthrough will identify what trim type is best suited to each area. For example, laying the floor up to a bathroom may require a different trim than laying up to a sliding door entrance or carpeted area
Use the information in the link to determine your trim type and how to install it: Flooring Trims for All Floor Types.
Certain trims, such as C-channels, must be added before hybrid flooring installation. In these cases, you would find the area where the C-channel needs to go and then attach them to the floor using screws, liquid nails or silicone. Any trim in two parts will require the base of the trim to be installed before flooring. In the case of C-Channel Trims (often referred to as Junior, Midi or Senior ‘End Trims’,) you will need to install the product within the open ‘C’ shaped opening as you lay the floor. Products such as L-channels (that sit up against walls and are sometimes referred to as ‘angle end trims’) can be installed after installation.
Suppliers and Matching Trims
Some hybrid flooring suppliers can colour-match flooring trims along with bullnosing for stairs, whereas others won’t be able to. Ensure you talk to us to learn about each product supplier’s options. Purchasing the flooring and trims through the same supplier is much cheaper if possible.

The Feel of the Product
Every product is different, so take your time to get used to the feel of it. Every locking system feels different. For example, after laying my first floor, I was supremely confident about how to do it. However, when I helped a friend with his floor, it was a different locking system, and some of my assumptions about locking systems proved wrong.
In General systems where the end ‘Drops’ into place (such as Valinge 2G and 5G systems,) will make the main open areas of the floor easier and faster to lay. However, difficult areas around door jams is where a lot of time is wasted, are easier with a uniclic 4-sided lock.

Hybrid Flooring Cleaning & Maintenance
Following the installation of your hybrid flooring, it is important to keep a few tips in mind:
- Dust, mop, or vacuum your floor regularly to rid it of any dirt or debris.
- Use hardboard runways or an appliance hand truck to transport any furniture onto the floor.
- Avoid lengthy exposure to direct sunlight by using drapes or blinds to block the sun during peak hours.
- Use non-staining mats (rubber-backed mats may cause the floor to become discoloured).
- Use non-staining floor protectors to equip furniture and large appliances with felt pads or large surfaces.
- Use mats at entrances to help prevent debris dammage.
- Turn the beater bar off when using your vacuum, and avoid electric brooms.
- Clean up spills right away.
- Avoid harsh cleaners or chemicals – Use a PH-neutral vinyl floor cleaner, and follow the instructions.
Benefits of Hybrid Flooring
Hybrid flooring offers a wide range of benefits, including:
- Waterproof—Unlike most laminate, hybrid flooring is 100% waterproof, making it an excellent option for busy households or businesses.
- Versatility – Hybrid flooring can be installed over existing subfloors and tiled floors.
- Durable—Thanks to a rigid core and Polyurethane PVC Wear Layer, hybrid planks are resistant to dents, stains, UV damage, and scratches. They are a strong option for families with kids, heavy foot traffic, or pets.
- Appearance – Created using eye-catching imaging technology, hybrid planks feature edges, textures, and colours that mimic the feel and look of timber without the drawbacks.
- Comfort – Rigid core construction makes hybrid flooring thicker and denser than traditional vinyl. The attached underlay will also help to add an additional layer of sound absorption and comfort.
- Sound – Hardwood and laminate floors can create a hollow sound when walked on. Rigid core technology helps ensure a solid step that produces less sound with hybrid flooring.
- Easy Maintenance and Cleaning – Just like laminate and vinyl, hybrid flooring is easy to maintain and clean just with regular spot cleaning, sweeping, and a weekly deep clean.
- While these benefits are certainly noteworthy, hybrid flooring offers another advantage: it is user-friendly. It is common for individuals to install hybrid flooring themselves, allowing them to save on the cost of professional installation. Learn more reasons why hybrid flooring is so popular here.
Final Thoughts
We hope this hybrid flooring preparation, installation, maintenance, and benefits guide gives you everything you need to install hybrid flooring yourself. We look forward to hearing your feedback and answering any questions you might have.
Learn from our experience and your own – Send us photos of your completed job!