If you’re wondering how much engineered timber flooring costs, here’s the short answer: supply-only prices generally range from $60 to $150 per square metre, while installed pricing tends to land between $105 and $200 per square metre, depending on how it’s laid and what extras are involved.
Let me explain why the cost of engineered timber flooring can vary so much and how to get the best value for money without getting stitched up. Over the decades, I’ve seen every type of job from dream installs to “should’ve called us sooner” disasters.

Here’s what you need to know price-wise with engineered timber flooring:
The Price of Engineered Hardwood Flooring at a Glance
Here’s a quick breakdown of what you’re likely to pay and what you’ll need to consider before choosing engineered timber:
- Engineered timber flooring cost per square metre (supply only): $60 to $150
- Fully installed: Expect to pay $105 to $200 per m², depending on the install method
- Floating installation: Cheaper and DIY-friendly, but can feel and sound hollow underfoot
- Direct stick installation: Costs more, but gives a solid timber feel and better refinishing options
- Veneer thickness matters: Thicker = pricier, but can be more easily sanded and refinished later
- Subfloor prep: Add $20 to $40 per m² if your slab isn’t perfect (and most aren’t)
- Underlay: Adds $4 to $30 per m². Required for floated installations and specific acoustic requirements
- Trims, skirting & accessories: Typically add $5 to $20 per metre/item
- Old floor removal: $5 to $35 per m², depending on what’s down already
- Regional costs vary: Expect to pay more in Sydney NSW, Melbourne VIC, and remote areas
- Compared to hybrid or laminate: Engineered timber costs more upfront, but lasts longer and looks better
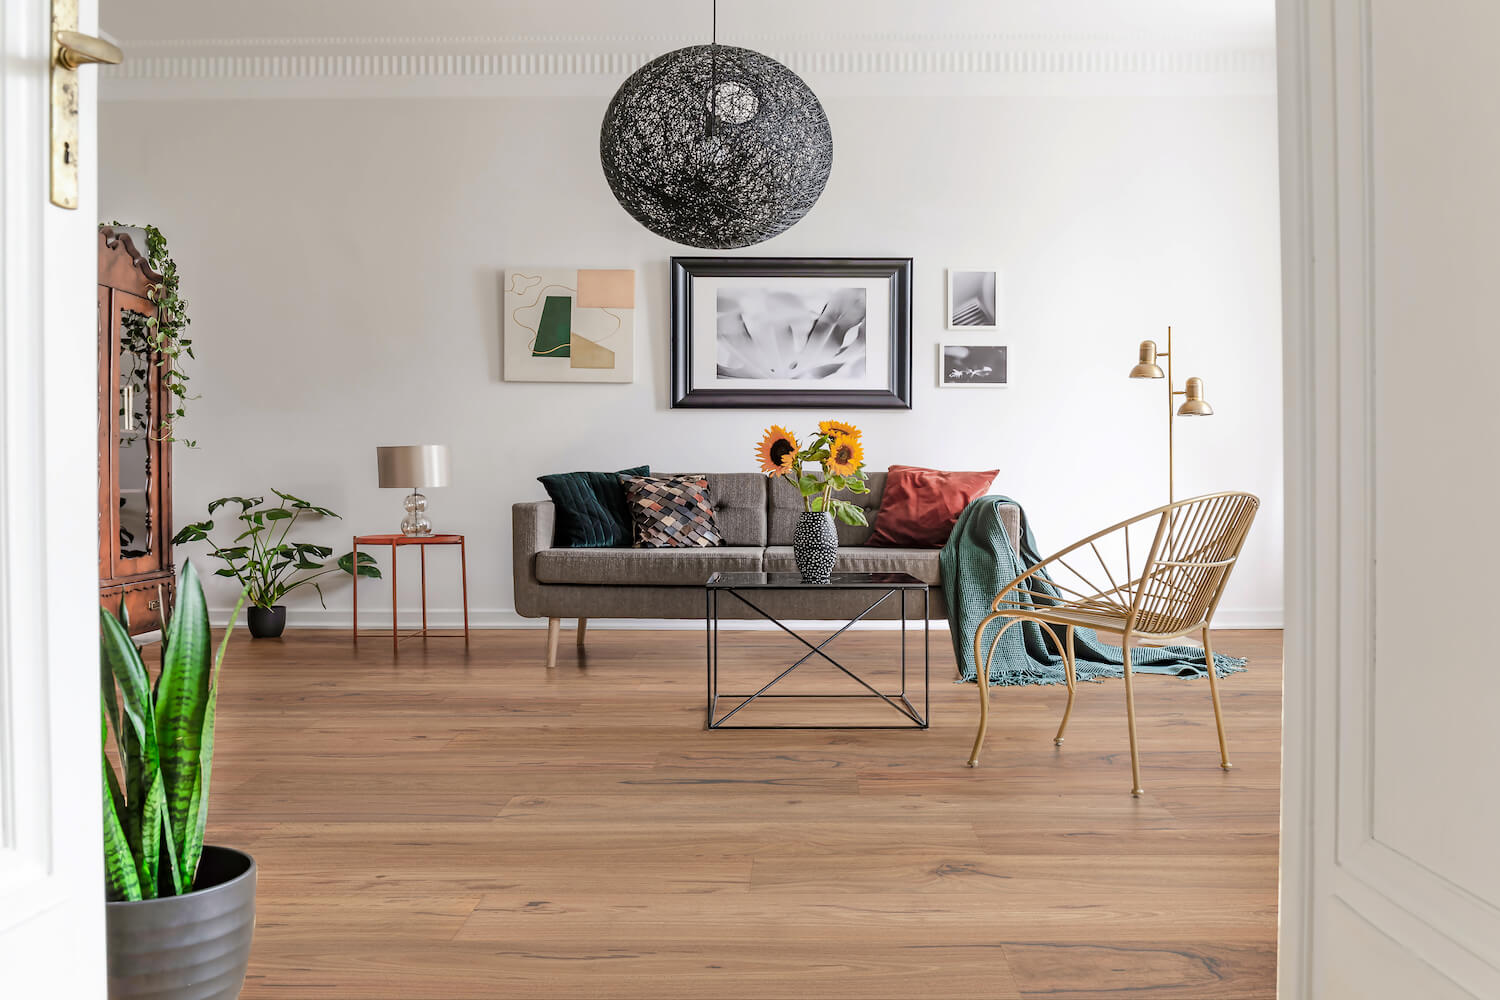
What is Engineered Timber Flooring and Why It’s Popular in Australia
Engineered timber flooring gives you the real timber look without some of the solid timber headaches. It’s got a genuine hardwood top layer, backed by stable layers underneath. That smart build means fewer issues with cupping, warping, or seasonal movement, especially in Aussie homes where humidity and slab types vary wildly.
We recommend checking out our waterproof flooring page to discover our most water-resistant flooring types and products.
Engineered timber flooring is a favourite for builders and renovators alike. You get the beauty of timber, quicker install times, and in many cases, the option to refinish it later. If you want that authentic wood feel without the price tag or high maintenance, engineered timber hits the sweet spot.

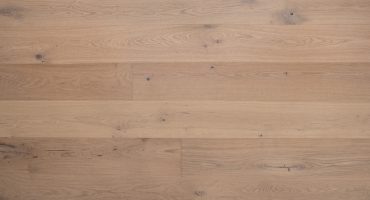
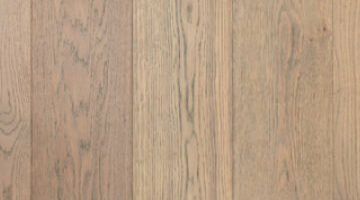
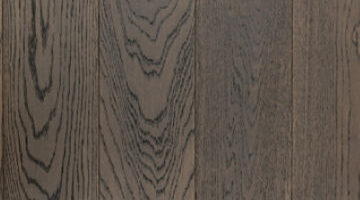
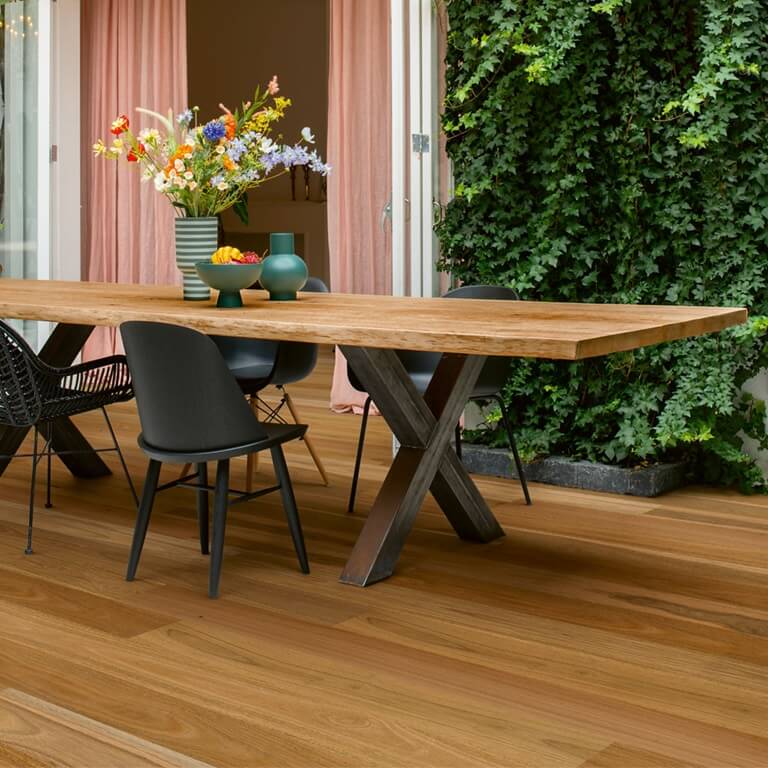
Empire OZ Engineered Timber Spotted Gum Rustic
How Much Does Engineered Timber Flooring Cost Per Square Metre?
Here’s the straight-up answer. The engineered timber flooring cost per square metre usually falls between $60 and $150 for materials only. If you’re getting it professionally installed, you’re looking at $105 to $200 per m², depending on how it’s laid and what condition your subfloor is in.
Let’s break that down a bit more clearly:
Material-Only Costs (Supply Only)
The engineered timber flooring price depends heavily on the thickness of the top veneer, which is the real hardwood layer you see and walk on. The thicker it is, the more it costs, but also the longer it lasts.
Engineered Timber Flooring Price by Veneer Thickness
| Veneer Thickness | Engineered Wood Flooring Price (per m²) |
|---|---|
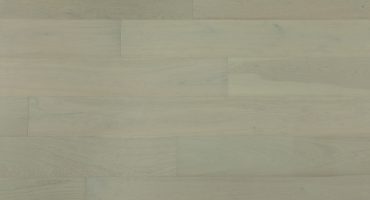
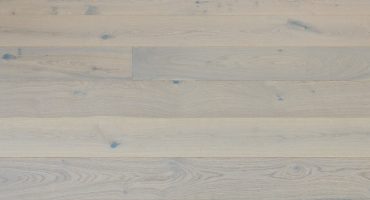
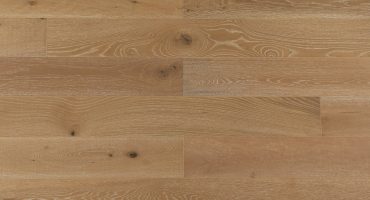
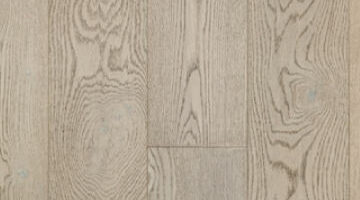
| 0.6–2mm (entry-level/micoveneer) | $60 to $70 Eclipse Divine Engineered Timber |
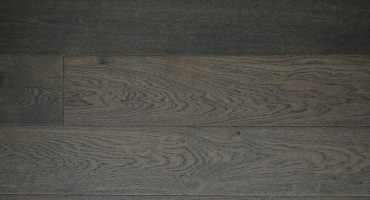
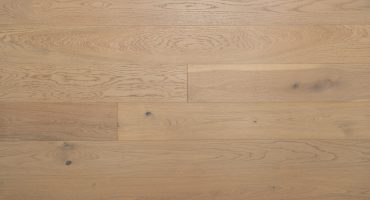
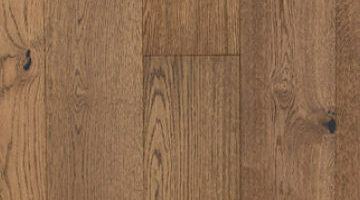
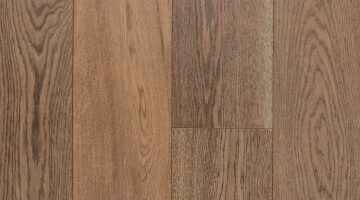
| 2–4mm (mid-range) | $70 to $100 Terra Mater Wildoak Arlo |
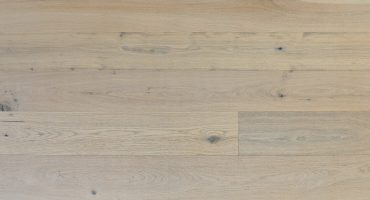
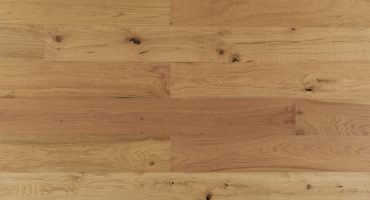
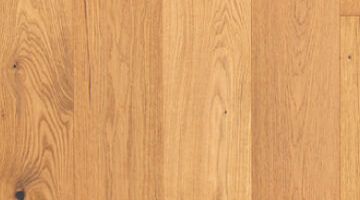
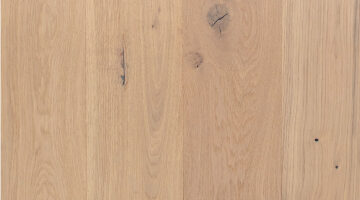
| 4–6mm (premium) | $100 to $150 Hurford Genuine Oak |
At the top end, expect exotic timbers, wider boards, and finishes like wire-brushed or oiled textures. These all nudge the engineered wood flooring cost up, but you’ll see and feel the difference.


Fully Installed Costs
When we’re talking about the installed price, the method makes a big difference:
| Installation Method | Engineered Timber Flooring Cost (per m² installed) |
|---|---|
| Floating (Click-lock) | $105 to $140 |
| Direct Stick (Glue-down) | $130 to $200 |

Expert Insights From Clem Sturgess
20+ years' experience in hard flooring
I’ve seen builders quote a single “installed price” with no mention of the type of installation. Always ask what method they’re using. Floating is faster and cheaper, but direct stick gives a much more solid, permanent feel underfoot. There are also strict limitations with resanding floated timber due to the movement of boards during the sanding process.
Keep in mind: You’ll often see advertised prices that exclude underlay, trims, or subfloor prep. That’s where “budget” quotes suddenly blow out.
Factors That Affect Engineered Timber Flooring Price
Not all engineered floors are created equal. I’ve seen some absolute bargains that ended up costing homeowners double, once for the install and again to rip it out six months later. So before you pick the cheapest quote, here’s what drives the engineered timber flooring price up or down.
Veneer Thickness (How Much Real Timber You Get)
The top layer of timber, including the wear layer, is the bit you walk on.
- Thinner veneers (under 2mm): Fine for low-traffic areas or rentals. These allow for minimal recoating only or more frequent sanding and recoating.
- Thicker veneers (3 to 6mm): Allow refinishing, which means the floor can be sanded and recoated in the future.
- Rule of thumb: Thicker veneer = longer life = higher price.
Board Width & Length
Wider boards cost more. Why?
- Wider lengths are harder to source, especially in Australian species, because fewer wide boards can be cut from a single tree.
- They create a cleaner, more seamless look, fewer joins, and a more natural flow.
So if you want that luxe, showroom look, expect to pay for it.
Timber Species
Your choice of wood affects both price and performance.
- European and American Oak: Mid-range pricing, consistent grain, accepts stains well.
- Hickory: Also mid-range. In terms of hardness, it sits between oak and Aussie hardwoods.
- Aussie Hardwoods (Blackbutt, Spotted Gum): Stronger and more expensive — can push the price into the $100–$130+ range.
- Exotic Timbers (Walnut, Teak): Premium appearance and premium price tag.
Don’t just go by colour, think about how the timber performs in our climate and whether it matches the rest of your build.

Surface Finish & Texture
From UV-cured matt lacquers to brushed and oiled finishes, the type of surface treatment matters.
It affects:
- The look and feel of the boards
- The timber grading: higher-grade materials cost more due to limited availability
- How much maintenance do they need
- And yes, the price
Brushed or oiled finishes tend to sit higher in the range, but they wear beautifully and hide minor scratches better than high-gloss options.
Brand, Batch Quality & Warranty
Like with anything, you’re paying for:
- Better manufacturing tolerances
- Sustainable flooring sourcing (e.g. FSC certified)
- Realistic wear warranties (not the “lifetime” ones that don’t cover wear and tear)
I’ve seen batches where the boards were twisted, the finish was inconsistent, or the joining system was incorrectly machined. Pay the extra for a reputable brand; trust me, it’s worth it.
Perception vs. Reality on Well-Priced Micro Veneer Flooring
- There is a common perception that micro veneer flooring, with its 0.6mm timber layer, is inferior to engineered floors with thicker veneers (e.g., 2, 3, or 4mm). This perception is often “a bridge too far” for consumers.
- In reality, a micro veneer floor is visually indistinguishable from solid timber or thicker veneers from a top-down perspective because it uses real wood on the surface, making it visually identical.
Durability and Maintenance
- Quality micro veneer products typically feature a better protective coating designed never to be re-sanded.
- For example, HM Walk flooring from Burfords has 14 coats of finish.
- The top two layers are a sacrificial water-based coating designed to wear off first.
- The underlying coats are made up of aluminium oxide, designed not to come off, ensuring long-term durability.
- Maintenance involves a light “cut back” with fine-grit sandpaper, which only abrades the coating without touching the timber underneath. New coatings can then be applied over the top.
- This method is recommended for any timber flooring to avoid depleting the veneer.


Structural Stability
- Micro veneer flooring is exceptionally stable due to its construction and is more cost-effective.
- The strength comes from a strong core, often made of eucalypt pine in the case of Australian species, rather than the thin top veneer.
- Unlike thicker veneers (e.g., 4mm Australian species), which can have significant tensile strength (sometimes more than the core) and be difficult to restrain, potentially leading to cupping or crowning, the micro veneer has no real strength.
- This means the core dictates the floor’s stability, preventing the veneer from causing warping.
- This makes micro veneer even less likely to cup or crown than standard engineered timber flooring.
Repair and Timber Quality
- Gouges or deep scratches are repaired in the same manner as solid timber floors, using wax repair kits to fill the damage right up to the top of the timber.
- The timber used for micro veneers is typically a cleaner grade in Australian species than that used for 3mm and 4mm veneers.
- The manufacturing process requires timber with fewer natural features, as features like insect trails can cause the thin veneer to tear during slicing, making them unusable.
- As a result, the wood is typically sourced from the outer part of the tree, leading to more consistency in colour and less prominent features than a thicker slice of timber.
- This can be considered either a positive or a negative, depending on individual preference.
Floating vs Direct Stick – Which Suits Your Project?
Here’s the thing: you can buy the best engineered timber in the world, but if you pick the wrong install method for your space, it won’t perform how you want. I’ve been called in to fix more flooring regrets than I can count, and 9 times out of 10, the issue came down to this decision.
Let’s look at the pros and cons of both floating and direct stick installs so you can choose the right one for your project, not just your budget.
Floating Installation (Click-Lock System)
Best for: DIYers, second-storey installs, or if you want something easier to replace down the track.
How it works: Boards are joined together using a locking system and floated over an underlay. Nothing is glued to the slab.
Pros:
- Lower labour costs ($25–$40 per m² to install)
- DIY-friendly
- Quicker to lay, no drying time
- Can go over most existing floors
- Easier to replace individual boards or remove them in future
Cons:
- Can feel hollow or “clicky” underfoot
- More movement — especially in wider rooms or humid zones
- Harder to sand and refinish
- Needs a very flat subfloor
- Underlay adds to the material cost
If you want to sell your house in five years or you’re laying floors in a rental, floating is a good value option. Just make sure you’ve got decent underlay, the cheap stuff sounds like walking on cereal.
Direct Stick (Glue-Down Installation)
Best for: Forever homes, main living areas, and when you want the solid feel of traditional hardwood.
How it works: Each board is glued directly to the subfloor using a flexible adhesive. Some installers also add secret nails for extra hold in the case of solid timbers.
Pros:
- Feels and sounds like solid timber underfoot
- Quieter – no hollow sound
- Less seasonal movement
- Can be sanded and refinished more easily
- More stable in high-traffic or humid areas
Cons:
- More expensive to install ($45–$85 per m²)
- Requires a moisture barrier on concrete slabs
- Needs perfect subfloor prep
- Removal is a significant job – not ideal if you change your mind later
- Definitely not a DIY project
We recommend this blog post, which covers a Direct Stuck vs. Floated Timber & Engineered Floors Comparison, including options such as light cut-backs mentioned above.
Expert Insights From Clem Sturgess
20+ years' experience in hard flooring
Don’t make the rookie mistake: I once inspected a job where a high-end engineered oak floor was floated in a coastal home with dodgy slab prep. Six months in, it sounded like a creaky old ship. It had to be ripped up and appropriately done; direct stick with a reasonable, healthy period of acclimatisation.
Still Not Sure? Ask Yourself:
- Is this a forever floor or just a short-term upgrade?
- What’s your subfloor made of (concrete, timber, yellow tongue)?
- Do you need acoustic performance (e.g. upstairs units)?
- Do you want to refinish the floor later?
- Are you trying to DIY or save on labour?
Choose based on your answers, not just the upfront quote.
Extra Installation Costs Most Homeowners Miss
Let’s be honest, most flooring quotes don’t include the whole story. I’ve seen “too-good-to-be-true” prices that didn’t even include underlay, skirting removal, or subfloor prep and let me tell you, those extras add up fast.
Here’s what to watch for when budgeting for your engineered timber flooring cost.
Subfloor Preparation – $20 to $40 per m²
The slab has more dips than a BMX track? That needs fixing.
- Engineered timber (especially floating) needs a flat, level base.
- Self-levelling compound, grinding, or patching might be required.
- If you skip this step, expect bouncy boards, loud footsteps, or worse, your click system breaking down the track.
Underlay – $3 to $30 per m²
Underlay isn’t optional; it’s required for floated floors and acoustic-rated installs.
| Type | Cost Range |
|---|---|
| EVA Foam (basic) | $3 to $6/m² |
| Rubber | $15 to $30/m² |
| Cork (premium) | $20 to $30/m² |
Moisture Barrier (for Direct Stick Installs)
If you’re gluing to a concrete slab, you’ll likely need:
- Moisture sealant to prevent moisture ingress from the subfloor, which can damage your product or cause adhesive failure.
- Some installers include this, and others don’t.
Ask what’s included. If they leave it out and your slab sweats, you’ll be looking at a costly floor replacement within a year.
Skirting Boards & Scotia – $5 to $20 per metre
You’ll either:
- Remove and reinstall existing skirting (if it survives)
- Replace it entirely with new skirting or install scotia.
| Item | Typical Cost |
|---|---|
| Scotia (painted MDF or timber) | $5 – $15 per metre |
| Skirting Board (supplied & installed) | $10 – $30 per metre |
Door Bars, Trims & Transitions: $5 to $20 each
- Used at thresholds, hallway joins, or changes in floor height
- Often missed in quotes, but needed for a tidy finish
Old Flooring Removal: $5 to $35 per m²
What’s under your current floor has a big impact on the cost.
| Floor Type Removed | Ballpark Cost |
|---|---|
| Carpet | $5 – $10/m² |
| Laminate | $10 – $20/m² |
| Tiles (glued) | $25 – $35/m² |
Tile removal, especially, is hard work, noisy, dusty, and slow. Budget for it if you’re doing a full reno.
Delivery, Parking, Site Access
Not always line-itemed, but:
- Steep driveways, stairs, or inner-city jobs can add cost
- Ask your installer if they charge extra for difficult access
These costs can easily add $20 to $60 per m² on top of the advertised supply price; so always ask for an itemised quote before you commit.
What’s Included in a Flooring Quote (and What’s Often Left Out)
Keep in mind that the below is based on both supply and installation if they are paired together. Online flooring store always strives to be the cheapest quality supply option in the market in Australia.
If you’re comparing flooring quotes, make sure you’re comparing apples with apples. Here’s what should be in your engineered timber flooring quote and what’s often left off to make it look cheaper.
What a Proper Quote Should Include
- Supply of flooring – with brand, range, colour, veneer thickness, and warranty clearly listed
- Installation method – floating or direct stick (and moisture barrier if glued to slab)
- Underlay type and thickness (for floating installs)
- Subfloor levelling – either included or flagged as “to be assessed on site”
- Skirting or scotia – including removal, supply, and reinstallation
- Trims, thresholds, door bars – especially for multi-room or hallway transitions
- Old flooring removal & disposal
- Site clean-up and rubbish removal
- Installation warranty – yes, it matters!
Common Things That Get Left Out to Lower the Price
- Underlay not mentioned (but you’ll be billed for it later, or have a cheaper one substituted)
- “Supply only” pricing passed off as an install quote
- Subfloor levelling
- Moisture barriers
- Skirting or trim work is assumed to be your problem
- Disposal of the old floor is not included
If a quote looks too good to be true, it usually is. Ask for an itemised breakdown, and don’t be shy about comparing 2–3 quotes side by side. Remember, you sometimes cannot put a price on an experienced installer.
Regional Price Variations Across Australia
Let’s be real, what you pay for engineered timber flooring in Sydney isn’t going to match what someone’s paying in Darwin or Hobart. I’ve quoted jobs across the country, and the differences can be pretty surprising.
Capital Cities Usually Cost More
- In Sydney and Melbourne, you’ll pay 10–20% more on average for both materials and labour.
- Demand is high, trades are busy, and parking or access can add to installation costs.
- Brisbane and Perth tend to be slightly cheaper, but prices are rising with demand.
- In the inner city, I’ve seen installers charge extra just for having to lug materials up stairs or deal with tight delivery windows.
Regional and Rural Areas Have Other Challenges
- Materials may need to be freighted in, adding to supply costs.
- Fewer installers mean less competition, which could result in higher labour costs.
- Some tradies charge a travel fee or require a minimum job size.
I once had a job 3 hours inland from Newcastle. The flooring was cheap, but the fuel bill was surprisingly high.
DIY Might Make Sense in High-Labour Areas But Be Careful
In places where installer rates are sky-high or availability is low, DIY can seem tempting. And with floating engineered floors, it’s doable if you’re patient, precise, and have decent tools.
But here’s the truth:
- In many cases, if you mess up your floor, you’ll void the warranty
- If your slab isn’t level, you might be stuck with creaking and gaps
- And if it’s direct stick? Forget it; call a professional
Ask the Right Questions Wherever You Live
- Are there extra travel or freight charges?
- Are installers local, or do they charge by the hour for travel?
- Is there a local warehouse, or is stock ordered in?
How Engineered Timber Compares to Other Flooring Costs
When shopping for floors, it’s easy to get overwhelmed by the numerous options and pricing details. I’ve seen ads for “timber floors” that turn out to be laminate, and quotes where engineered timber is priced the same as cheap laminate.
So let’s clear the air.
Here’s how engineered timber flooring costs stack up against other popular flooring types: no fluff, just the facts.
Price Comparison Table
| Flooring Type | Supply Cost (m²) | Installed Cost (m²) | Key Notes |
|---|---|---|---|
| Vinyl Plank | $20 to $45 | $60 to $90 | Budget-friendly, waterproof, but not real timber |
| Laminate | $25 to $50 | $60 to $90 | Scratch-resistant, timber-look only |
| Hybrid | $30 to $70 | $70–$110 | Good durability, waterproof, better underfoot than laminate |
| Engineered Timber | $60–$150 | $105–$200 | Real timber veneer, best of both worlds |
| Solid Timber | $120–$200+ | $180–$250 | Premium option, harder to maintain, more movement |
What You’re Really Paying For
- Engineered wood flooring price is higher than laminate, but for good reason: it’s real timber, not a photo of one.
- Compared to vinyl or hybrid, engineered timber offers longer-term value. It can be refinished (if thick enough) and adds more resale appeal.
- Solid timber is beautiful but comes with headaches: sanding, expansion gaps, and humidity drama. Engineered timber avoids most of that while still giving you the same authentic look.
Real-World Example
Let’s say you’re renovating a 60m² living area:
| Option | Supply & Install Estimate |
|---|---|
| Laminate | $4,800 – $5,400 |
| Hybrid | $5,400 – $6,600 |
| Engineered Timber | $7,200 – $11,400 |
| Solid Timber | $10,800 – $15,000+ |
Sure, you’ll pay more upfront for engineered, but if you want that “real wood” underfoot without the upkeep of solid timber, this is your sweet spot.
Spend Smart, Not Twice
So, what’s the real story when it comes to engineered timber flooring cost? Here it is in plain terms: you’re looking at anywhere from $60 to $150 per square metre for supply, or $105 to $200 installed, depending on the method, material, and site conditions.
Floating is cheaper, direct stick lasts longer – but both have their place. The extras (underlay, prep, skirting) add up fast, so don’t get caught out comparing incomplete quotes.
I’ve seen it all — from flawless installs that look amazing 10 years on, to cheap floors that started warping before the furniture even went in. And nine times out of ten, it comes down to cutting corners early to save a few bucks. Don’t make that mistake.
Choose a quality product, ask the right questions, and invest in proper installation. You’ll thank yourself every time you walk across it.
Floors are meant to be lived on. Let’s help you get one that’ll last.